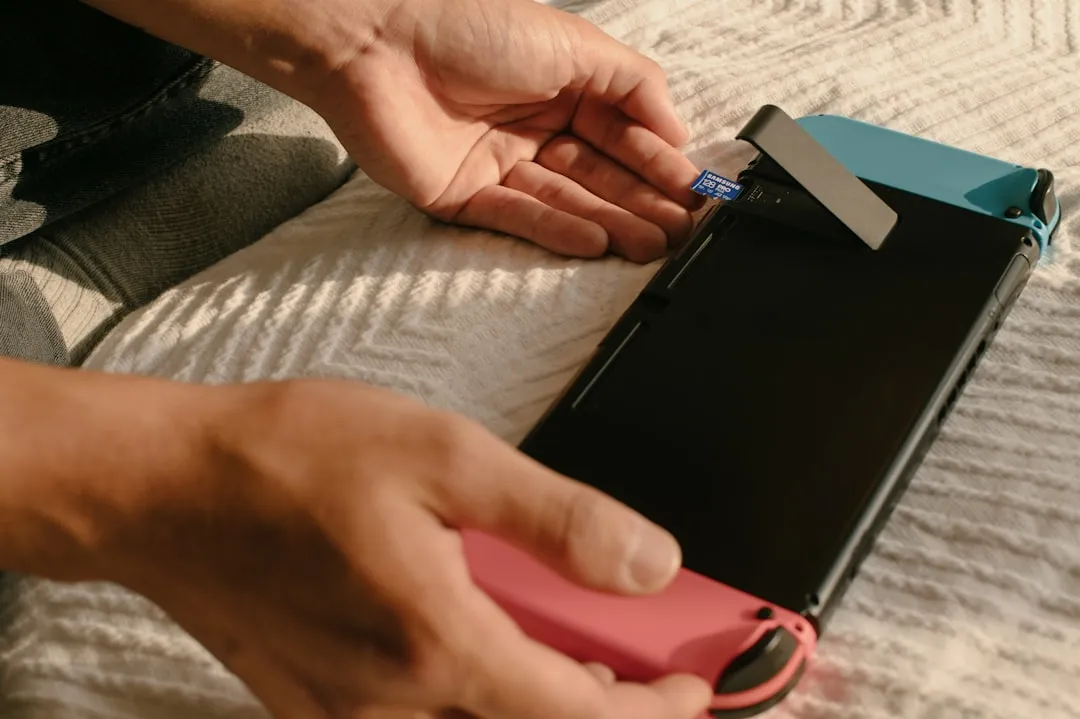
Quick Answer: Nintendo Switch battery drain is often a calibration problem, not hardware failure. A full discharge-recharge cycle — draining to 0%, then charging uninterrupted to 100% — resets the battery percentage meter. This fixes wildly inaccurate readings and unexpected shutdowns without replacing any hardware. Takes about 24 hours total.
The Nintendo Switch has a battery problem that Nintendo will never fully admit to, and it's not what most people think. It's not that the cells are unusually weak. It's that the fuel gauge — the small chip responsible for telling the system how much charge is left — drifts. Over months of partial charges, interrupted cycles, and sleep-mode limbo, the gauge loses sync with reality. You see 40% on screen. The system thinks 40%. But the actual electrochemical state of the cell says something closer to 8%. Then it shuts off. Hard. Mid-game. No warning.
This isn't unique to Nintendo. It's a lithium-ion problem that affects every portable device ever made. But the Switch's usage patterns — long sleep sessions, frequent partial charges, being left on a dock at 100% for weeks — make it particularly susceptible. And because Nintendo's official support response is essentially "send it in" or "buy a new battery," the internet has spent years building its own repair culture around this, tackling common issues such as permanently fixing Nintendo Switch Joy-Con drift.
The Fuel Gauge Problem: Why Your Switch Lies to You
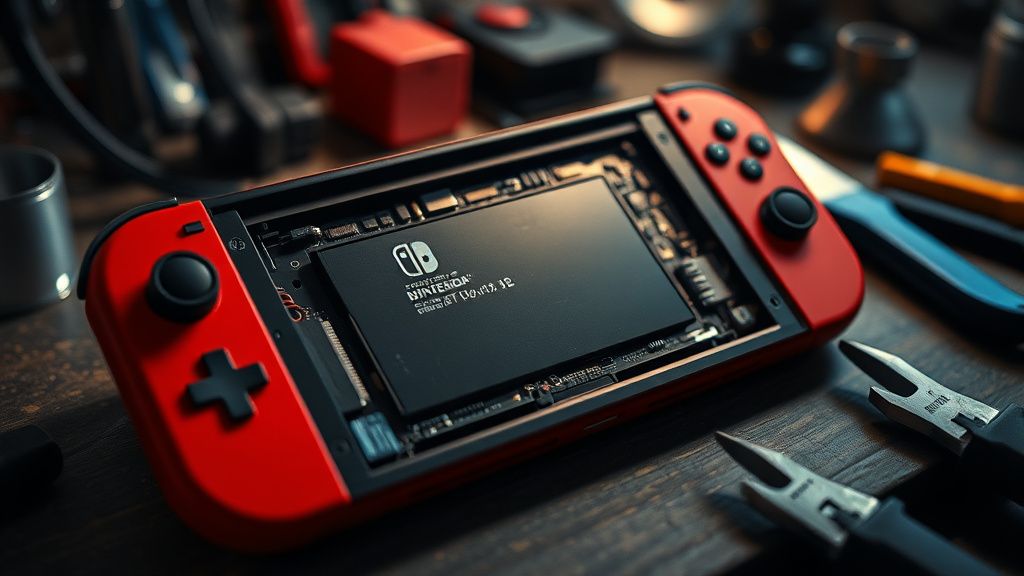
To understand battery calibration, you need to understand what's actually being calibrated. The Switch (all models — original HAC-001, revised HAC-001(-01), Lite, and OLED, which can be susceptible to OLED burn-in) uses a lithium-ion polymer cell. These cells don't have a fixed, readable "charge level" in the way a gas tank has a float. Voltage is the proxy. When fully charged, the cell sits around 4.2V. Depleted, it's around 3.0V. The fuel gauge chip — in the Switch's case communicating via I²C bus to the main SoC — maps that voltage curve to a percentage.
The problem is that the curve is not linear. It's S-shaped. And more importantly, it shifts over time as the cell ages, as charge patterns vary, and as temperature fluctuates. The chip has to learn the curve. It does this through a process called "full learning cycles" — complete discharge and recharge passes that let the firmware recalibrate its internal model.
When you never do a full cycle — when you always dock at 60%, undock at 80%, sleep the device constantly — the chip's model gets stale. The divergence between estimated and actual state-of-charge grows. Reddit threads in r/NintendoSwitch from 2018 onward are filled with users describing the same pattern: "Battery shows 30%, dies instantly," "Charges to 100% in 20 minutes then stops," "Stuck at 1% forever." These aren't hardware failures in most cases. They're calibration drift.
The fuel gauge chip used in the original Switch is the Texas Instruments BQ27621 (confirmed through teardown analysis by iFixit and other community hardware researchers). This is a "single-cell, Li-Ion battery gas gauge" that uses an algorithm called Impedance Track™. It estimates remaining capacity by learning the battery's impedance characteristics over full discharge cycles. When it doesn't get those full cycles, its model degrades.
What Calibration Actually Does — And What It Doesn't
There's a persistent myth in Switch communities that calibration "restores" battery capacity. It does not. If your cell has genuinely degraded — if the physical capacity has dropped from the original 4,310 mAh (original Switch) to, say, 2,800 mAh through chemical aging — no calibration will fix that. In such cases, you might need a new cell, similar to how a PS5's CMOS battery might need replacement to fix clock issues.
What calibration does fix is the reporting problem. It forces the fuel gauge chip through a full learning cycle. The chip re-measures the impedance curve from empty to full, rebuilds its internal model, and starts reporting percentage based on current reality rather than a stale historical estimate.
The practical difference matters enormously. A miscalibrated Switch might report 45% remaining and die 20 minutes later. A correctly calibrated Switch reporting 45% will actually have roughly 45% of its current usable capacity remaining — which, even if degraded, is at least honest. You can plan around an honest battery. You can't plan around a liar.
This also explains why calibration sometimes appears to reduce battery life. If your phone claimed 6 hours and was dying after 3, post-calibration it will honestly tell you 3. The battery hasn't gotten worse. The measurement got accurate.
The Actual Calibration Procedure: What Works, What Doesn't
Here's where the internet gets messy. Search for "Nintendo Switch battery calibration" and you'll find dozens of slightly different procedures, some of which are cargo-culted nonsense.
The core valid procedure involves:
Discharge the battery completely. Play actively — don't just let it sit in sleep mode. Sleep mode draws very little power and takes forever. Play a demanding game, keep the screen brightness high, enable WiFi. You want active discharge. Run it until the Switch shuts off automatically.
Leave it off for at least 30 minutes after shutdown. This is the step most guides skip. When a Li-ion cell hits its low-voltage cutoff and the system shuts down, there's still residual voltage in the cell — it's not truly at bottom. Letting it sit allows the cell voltage to settle, giving the gauge chip more accurate data from the absolute floor.
Charge uninterrupted to 100%. Plug into the official AC adapter (or a reliable USB-C PD charger providing at least 18W). Do not use the device during charging if possible. Do not unplug and replug. Let it complete the full charge cycle without interruption.
Leave it on the charger for an additional 1-2 hours after reaching 100%. This is the "topping off" phase. Li-ion cells use a constant-current/constant-voltage (CC/CV) charging protocol. The 100% reading appears during the CV phase but the cell isn't fully saturated yet. Extra time at the top matters for the fuel gauge's learning.
Repeat the full cycle once or twice more. One cycle often isn't enough for a heavily drifted gauge. Two or three full discharge-charge cycles typically stabilizes the reading.
What doesn't help: draining to 20% and recharging. Using a third-party dock of unknown quality during calibration. Draining in sleep mode over three days. Charging via a USB-A to USB-C cable from a 5W charger (too slow, inconsistent). These are common workarounds people use because they're impatient, and they wonder why the calibration "didn't work."
Field Reports: What Actually Happens in Practice
The community evidence here is messy and instructive. On the r/NintendoSwitch subreddit, a thread from late 2022 titled "PSA: Before you replace your battery, try calibrating it" accumulated hundreds of comments with mixed results. The pattern that emerged:
Users with less than 2 years of use and genuine calibration drift (never done a full cycle) reported near-complete fixes. "Literally thought I needed a new battery. Did two full cycles. Battery percentage is accurate again. Shuts off at 1% now instead of 30%."
Users with 3+ years of heavy use reported partial improvement. Percentage accuracy improved but total runtime was still significantly below original specs. This tracks — calibration fixed the gauge but couldn't restore chemically degraded capacity.
Users with OEM battery replacement followed by no calibration reported the problem returning. Several r/NintendoSwitch posts describe buying a third-party replacement cell, installing it, and having the same erratic percentage behavior — because they never calibrated the new cell either.
The Hacker News thread from around the same period touched on something darker: the original Switch's charging circuit and fuel gauge communicate in ways that aren't fully documented publicly. Some community researchers in the GBAtemp forums have noted that the Switch's battery health data is accessible via USB debugging tools like TegraRcmGUI adjacent software, but Nintendo doesn't expose any native battery health menu (unlike iOS or modern Android). You're flying blind unless you have homebrew or a multimeter.
This opacity creates its own problem. Without visible cycle count data or capacity percentage, users can't distinguish between "needs calibration" and "needs replacement." Nintendo almost certainly knows this creates service revenue — every "broken battery" that's actually just miscalibrated is a repair job or a new console.
Nintendo Switch Lite and OLED: Same Problem, Different Cell
The Switch Lite uses a smaller cell (approximately 3,570 mAh per specifications, though third-party measurements vary). The OLED model uses a slightly larger cell. Both use similar fuel gauge architectures with the same calibration drift characteristics.
The Lite has an additional wrinkle: its battery is more deeply embedded in the chassis, making physical replacement significantly harder. This creates stronger incentive to exhaust software solutions (like calibration) before going hardware. Several iFixit repair guides note the Lite's battery replacement as "Moderate to Difficult" with heat gun work required to avoid cracking the housing.
The OLED model, introduced in 2021, launched with reports of better battery behavior — partly because the OLED panel itself is more power-efficient at typical brightness levels than the original LCD. But the underlying fuel gauge behavior is the same. OLED Switch owners started hitting calibration drift issues at roughly the same timeline as original Switch owners did: 18-24 months of regular use.
When Calibration Fails: The Real Hardware Problem
Calibration is not a universal fix. There are several failure modes that look like calibration drift but aren't:
Genuine capacity degradation. Li-ion cells lose capacity through charge cycling. After 300-500 full cycles (by most manufacturer estimates), capacity is typically at 80% of original. After 800+ cycles in adverse conditions (heat, constant 100% storage, fast charging), degradation accelerates. If you've owned the Switch since 2017 and played it heavily, your cell may be genuinely old. Calibration will give you accurate readings of the degraded capacity, which means you'll accurately know that your battery is bad.
Cell swelling. This is the dangerous one. Swollen batteries (caused by internal gas buildup from electrolyte breakdown) can cause the Switch's backplate to bulge or pop off. Multiple Reddit threads and YouTube comments show Switch consoles with visibly deformed backs — this is a battery that needs immediate removal, not calibration. Attempting to continue using a swollen cell risks thermal runaway.
Charging circuit failure. The Switch won't charge from certain USB-C cables or chargers when the M92T36 chip (which handles power delivery negotiation) fails. This was a widespread hardware failure in the original Switch, with M92T36 failures documented extensively on GBAtemp and iFixit community forums. Symptoms include charging only on the dock, not from handheld USB-C, or erratic charging behavior. Calibration does nothing here.
Corrupted battery firmware. Rare, but documented. Some Switch units — particularly those that experienced failed software updates or were exposed to homebrew modification attempts gone wrong — end up with corrupted battery management firmware. These units exhibit bizarre charging curves that don't respond to calibration cycles.
The Counter-Argument: Is Battery Calibration Even Real Anymore?
Here's where it gets genuinely contested. Modern battery management ICs — including more recent versions of the BQ series from Texas Instruments — are designed to self-calibrate continuously. The argument from some hardware engineers (visible in discussions on Electrical Engineering Stack Exchange and various EE forums) is that "manual calibration" on modern devices is a holdover from NiMH/NiCd battery behavior, and that modern Li-ion devices with good BMS implementations don't need it.
There's something to this. On a well-designed system with a quality BMS and normal usage patterns, the gauge should stay accurate without manual intervention.
But the Switch's usage patterns are not normal. Dock mode means the battery sits at 100% charge indefinitely — which is genuinely stressful for Li-ion chemistry and creates calibration drift scenarios. Sleep mode for extended periods at partial charge is another edge case. And critically, Nintendo's Battery Management System decisions seem optimized for form factor and cost, not longevity. The system charges to 100% and holds there. There's no user-accessible charge-limiting option (unlike some Android phones that cap at 85% for longevity).
So yes, on a Samsung phone with eight years of BMS refinement, you probably don't need to manually calibrate. On a Nintendo Switch that's been docked at 100% for six months, you probably do.
The Workaround Culture and What It Reveals
The existence of the calibration procedure as community knowledge says something about Nintendo's relationship with repair and transparency. There is no official calibration tool. There is no battery health menu. Nintendo's support page for "Nintendo Switch battery issues" is essentially: check your charger, try a soft reset, contact us for service.
The community filled that gap. GBAtemp threads from 2018-2019 were some of the first places to document the fuel gauge drift in technical terms. YouTubers built entire channels around Switch repair and battery analysis. Third-party battery replacement kits became a cottage industry — with the attendant quality-control nightmares of counterfeit cells being sold as "genuine" or "OEM-spec" on Amazon and AliExpress.
Some of those third-party cells are dangerous. There are documented cases (mostly in repair community Discord servers and YouTube comment sections) of third-party Switch batteries swelling within months. The cells don't meet the BMS calibration data that the gauge chip expects, causing overcharge scenarios.
The right-to-repair dimension here is real. If Nintendo provided a battery health diagnostic in the system firmware — just cycle count and remaining capacity percentage, the same data iOS has shown since 2017 — users could make informed decisions between calibration, replacement, and acceptance. The absence of that data isn't an oversight. It's a decision.
Practical Maintenance: Preventing Drift Before It Starts
If your Switch is currently working fine, a few habits significantly extend both calibration stability and actual cell health:
Don't store on the dock at 100% indefinitely. If you're not playing for a week or more, undock at 50-60% and leave it in sleep mode or powered off. Storing Li-ion at full charge is one of the fastest ways to accelerate capacity loss.
Do a complete discharge-recharge cycle every 3-4 months. This isn't necessary for capacity preservation — it's a maintenance pass for the fuel gauge. Keeps the chip's model current.
Use the official Nintendo charger or a quality USB-C PD charger. Cheap chargers with inconsistent voltage delivery during the CC/CV transition can confuse the BMS. The M92T36 failures documented in early Switch models were partly attributed to non-compliant USB-C chargers sending malformed PD handshakes.
Avoid extreme temperatures. This is obvious but often ignored. Gaming in a hot car, leaving the Switch in direct sunlight — Li-ion cells degrade faster at elevated temperatures. The chemistry accelerates at heat in ways that no calibration can reverse.
Replacing the Cell: When You've Exhausted Calibration
If calibration cycles don't stabilize the percentage reading, and if your runtime is genuinely under two hours for moderate use (vs. the original spec of approximately 4.5-9 hours depending on game load), replacement is warranted.
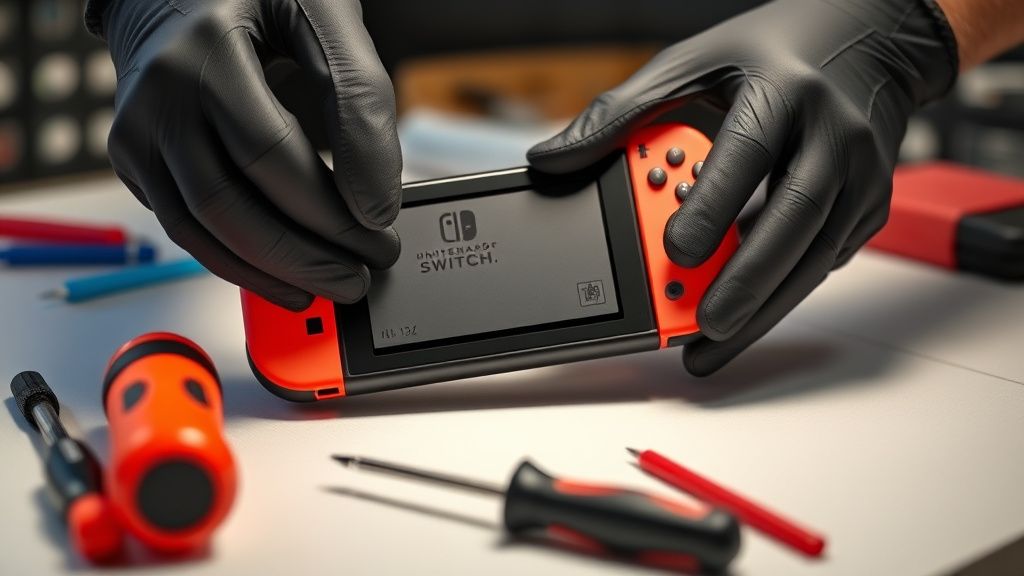
The original Switch battery replacement is rated "Moderate" difficulty by iFixit. It requires opening the back panel (tri-point screws), disconnecting several ribbon cables, and carefully detaching the battery adhesive. Total time for someone experienced: 30-45 minutes. For a first attempt: plan for 90 minutes and don't rush the adhesive.
Buy cells from reputable sources. iFixit sells replacement kits with known-good cells and the correct tools. Some community members have had good experiences with specific AliExpress vendors (discussed in ongoing threads on GBAtemp's hardware section), but this is genuinely risky — cell provenance matters for safety.
After installation, do a full calibration cycle immediately. The new cell's fuel gauge state is completely unknown from the device's perspective. Skipping calibration after a replacement is the single most common reason new cells immediately exhibit the same erratic behavior as the old ones. The chip doesn't magically know the new cell's characteristics. It has to learn them.
Bu makale affiliate linkleri içermektedir.