Standard rental kitchen cabinets often arrive with pitted wire pulls, tarnished fake brass, or chipped wooden knobs. While standard leases explicitly bar drilling fresh holes, filling bores, or repainting cabinetry, replacing decorative pulls is entirely reversible when done correctly. Because cabinet hardware mounts through pre-drilled bore holes with standard machine fasteners, you can swap in contemporary pulls and return every original piece to its exact spot at move-out. Achieving a snug, wobble-free installation without risking your security deposit comes down to three details: measuring existing center-to-center spacing accurately, matching screw lengths to doors versus double-thick drawer fronts, and shielding aged finishes from mechanical wear.
Determine Center-to-Center Spacing Before Shopping
The primary rule of damage-free rental upgrades is complete adherence to existing bore holes. Cabinet hardware spacing follows center-to-center (C-to-C) dimensions: the precise distance between the center points of the two screw holes, rather than the outer tip-to-tip length of the handle.
- Single-Hole Knobs: Knobs mount through a single centered hole, making them universally swappable for any standard single-hole replacement knob.
- Common US Pull Spacings: Two-hole handles generally follow standard metric or imperial spacing intervals: 3 inches (76 mm), 3-3/4 inches (96 mm), or 5 inches (128 mm).
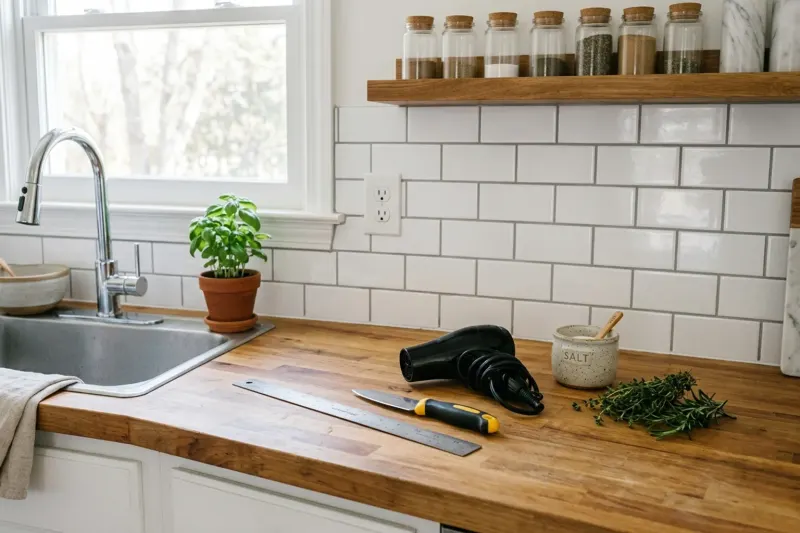
To find your cabinet's C-to-C measurement, unscrew one existing pull completely. Lay a rigid steel ruler or tape measure flat across the face and measure from the exact center of one open hole to the center of the other. Never attempt to force a 96 mm pull into a 3-inch (76 mm) spacing. Forcing an incompatible pull tilts the screws, cross-threads the hardware casting, and gouges the soft core material inside the door.
Related guide: Peel-and-Stick Backsplashes for Rental Kitchens
Calculate Door and Drawer Screw Lengths
Most cabinet hardware ships with 1-inch (2.5 cm) screws, but using that single length across an entire kitchen will cause problems. Hardware screws must pass completely through the door or drawer box with roughly 1/4 inch (0.6 cm) of exposed thread remaining to grip the pull casting securely.
| Cabinet Location | Typical Construction Thickness | Required Screw Length | Approximate Thread Depth |
|---|---|---|---|
| Standard Cabinet Door | 3/4 in (1.9 cm) | 1 in (2.5 cm) | 1/4 in (0.6 cm) |
| Double-Walled Drawer Front | 1-1/4 to 1-1/2 in (3.2 to 3.8 cm) | 1-1/2 to 1-3/4 in (3.8 to 4.4 cm) | 1/4 in (0.6 cm) |
Single cabinet doors typically consist of a 3/4-inch panel or frame stile, meaning standard 1-inch screws seat securely without bottoming out. Drawer boxes, however, are usually built with a structural sub-front joined to an exterior decorative slab, giving them double the overall thickness. If you attempt to use factory 1-inch screws on a drawer assembly, the fastener will not reach the handle threads. Forcing an undersized screw strips the first few female threads of the pull, leaving the handle loose.
Related guide: Rental Kitchen Storage: Choose Organizers That Fit
Fastener Threading and Breakaway Screws
In North America, decorative cabinet knobs and pulls almost universally accept standard #8-32 machine screws (#8 screw gauge with 32 threads per inch). If your replacement handles did not come with fasteners long enough for your drawers, visit a local hardware store for packs of #8-32 round-head or truss-head machine screws in 1-1/2-inch and 1-3/4-inch lengths.
Another reliable option is segmented breakaway screws. These specialty #8-32 fasteners feature pre-scored indentations along their shank at standard 1/4-inch increments. You can thread the screw into the drawer to check depth, grip the score line with two pairs of household pliers, and snap off the excess length cleanly. Because the threads are pre-chamfered at each break point, the shortened screw threads smoothly into the handle casting without hanging up or cross-threading.
Related guide: Organize a Small Linen Closet Without Drilling
Mask Surface Halos with Protective Backplates
When factory hardware sits against cabinetry for years, grease, UV exposure, and household cleaning chemicals leave a visible footprint around the base. Taking off an old pull often exposes an unvarnished footprint, an impression dent, or a pale ring in the wood veneer or melamine finish.
Decorative backplates (also called escutcheon plates) resolve this cosmetic issue without sanding, chemical solvents, or repainting. Backplates are thin metal plates that slip over the mounting screws between the hardware base and the cabinet exterior. A standard rectangular or oval backplate measuring 4 to 6 inches (10.2 to 15.2 cm) spans past the original hardware footprint, cleanly concealing color halos, paint ridges, and prior wear patterns. They also provide a firm, flat bearing surface if the edge of an older bore hole has experienced minor chipping.
Prevent Core Blowout with Hand Tools
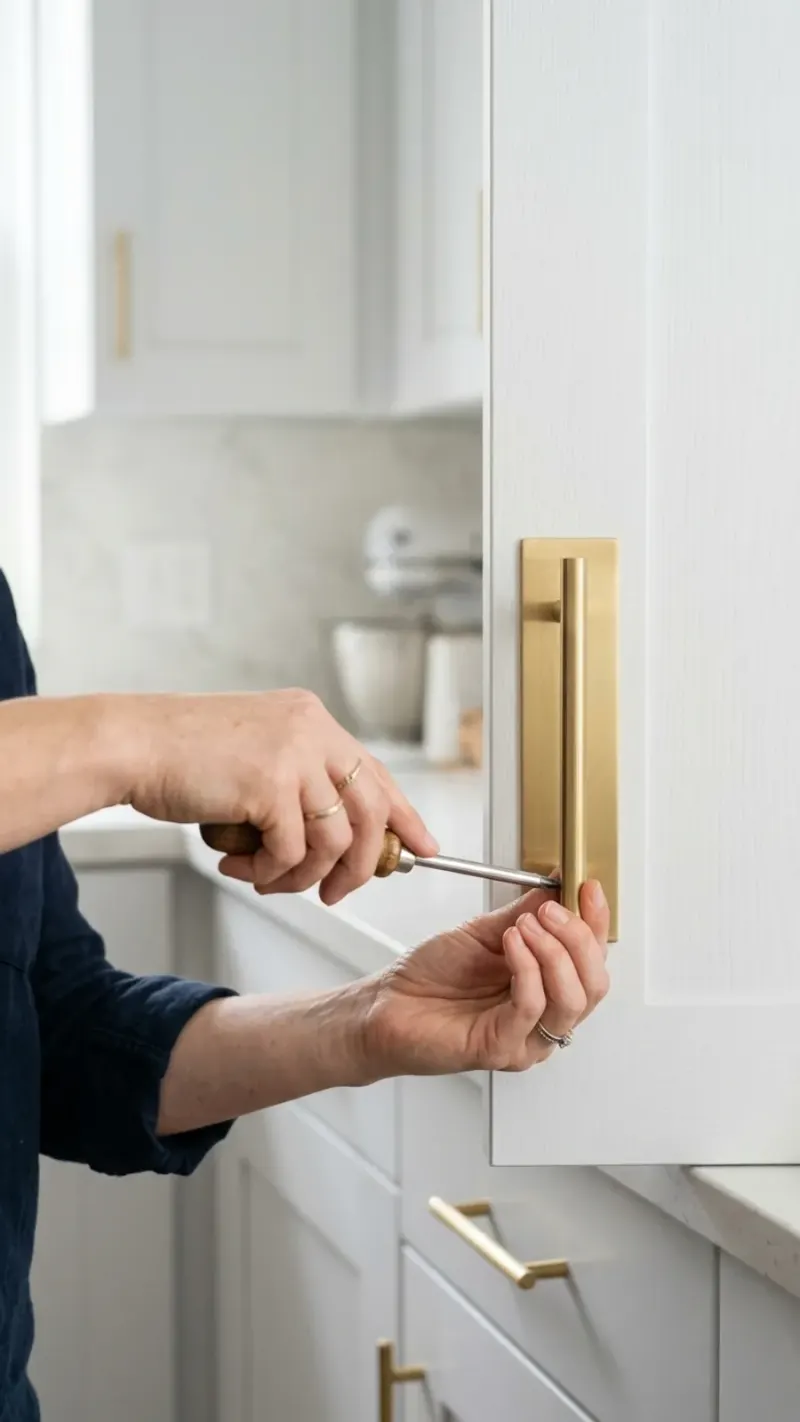
Put away high-speed cordless drills and impact drivers for this project. Modern decorative hardware—especially affordable cast aluminum, pot metal, or zinc alloy pieces—features shallow machine-tapped threads that strip out instantly under power tool torque.
- Prevent Core Blowout: Driving screws too aggressively can yank the fastener head straight through soft medium-density fiberboard (MDF) or low-density particleboard door cores.
- Prevent Finish Cracking: Overtightening pulls pinches brittle thermal-foil wraps or natural wood veneers, creating hairline cracks around the hole.
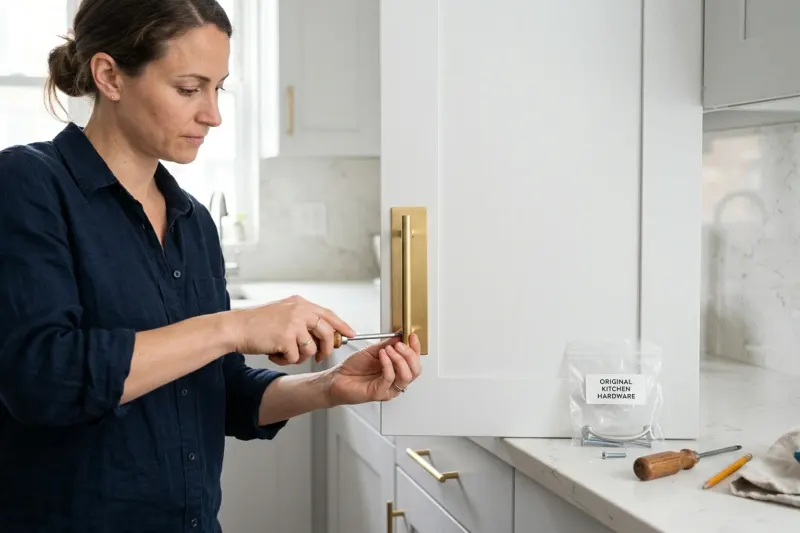
- Ensure Tactile Alignment: A manual handheld #2 Phillips or slotted screwdriver provides immediate tactile feedback, letting you stop turning the moment the screw snugs flat against the interior face.
Organize Original Hardware for Move-Out Restoration
A rental hardware upgrade is only truly safe if every original screw, knob, and washer is reinstalled before your final move-out inspection. Property management companies frequently deduct significant fees from deposits for missing or mismatched builder-grade pulls.
Establish a dependable inventory system before starting:
1. Pair each removed pull directly with its factory screws as you take it down.
2. Sort parts into heavy-duty zip-top freezer bags labeled with a permanent marker by room zone (for example, "Upper Wall Cabinets," "Island Drawers," or "Under-Sink Doors").
3. Place any original washers, decorative spacers, or backplates into the corresponding bags.
4. Store these labeled bags inside an upper pantry shelf, kitchen utility caddy, or clear storage tote so they remain protected and accessible throughout your tenancy.
Hardware Configuration Decision Matrix
| Situation | Consider | Why |
|---|---|---|
| Cabinet doors feature single-hole knobs | Direct single-hole replacement knob | Avoids hole spacing concerns and maintains simple one-to-one reversibility at move-out. |
| Cabinets feature two-hole pulls with 3-inch (76 mm) spacing | Match with a replacement pull measuring exactly 3 inches center-to-center | Screws thread straight without binding or placing sideways shear force against existing bores. |
| Old hardware removal exposes finish discoloration or a grime halo | Install a decorative rectangular or oval backplate behind the new pull | Conceals surface wear cleanly without sanding, chemical solvents, or repainting cabinet faces. |
| Supplied 1-inch hardware screws do not reach through drawer assemblies | Install 1-1/2 inch #8-32 machine screws or segmented breakaway screws | Accommodates the combined thickness of the structural drawer box and decorative front panel. |
Hypothetical Rental Kitchen Hardware Audit
Consider a standard rental kitchen layout containing 16 cabinet doors and 6 drawers fitted with dated wire handles. Removing one handle and checking with a ruler confirms an exact 3-3/4 inch (96 mm) center-to-center hole spacing. The 16 cabinet doors measure 3/4 inch (1.9 cm) thick, requiring 32 standard 1-inch (2.5 cm) #8-32 screws. The 6 drawer assemblies have an outer decorative front attached to an inner sub-box, measuring 1-3/8 inches (3.5 cm) total thickness, requiring 12 longer 1-1/2 inch (3.8 cm) #8-32 machine screws. The tenant purchases 22 matching 96 mm pulls along with a contractor pack of 1-1/2-inch screws, installs them using a hand screwdriver, and stores the 22 original wire pulls and 44 original screws in two labeled plastic bags inside the pantry.
- Cabinet Door Stile
- Decorative Backplate (18 cm)
- Replacement Pull (96 mm C-to-C)
When this approach is not a good fit
This process is unsuitable for cabinets fitted with integrated touch-latch hardware, European concealed blind-mount clips, decorative trim glued directly to thermofoil wraps, or older cabinetry where previous tenants glued stripped screws into permanent epoxy.
Sources & further reading
- Lowe's: How to Measure Cabinet Hardware
- The Home Depot: How to Install Cabinet Handles
- Emtek: Center to Center Measurement Guide
- D. Lawless Hardware: Fastener Length Guide
AI-assisted writing and concept images. Sources and automated checks support the process; they do not replace checking your own measurements.
How we create our guides · Suggest a correction