Living with stained drywall, chipped enamel, or dated speckled laminate behind a kitchen counter is an everyday headache in a rental where leases prohibit wet mortar, mastic, and structural modifications. Removable peel-and-stick backsplash sheets solve this compromise. Manufactured from lightweight vinyl, polyethylene, or polyurethane composite with an elastomeric pressure-sensitive adhesive backing, these flexible panels replicate the visual lines of ceramic subway tile, stacked stone, or mosaic glass. Protecting your security deposit comes down to two technical priorities: confirming your wall substrate releases the adhesive cleanly under gentle heat when moving out, and executing an accurate alignment sequence so interlocking seams stay true across uneven builder-grade counters.
Evaluating Wall Substrates and Thermal Clearances
Before ordering tile packs, inspect your kitchen wall substrate and verify clearance around cooking appliances. Pressure-sensitive adhesive sheets require a flat, non-porous, and firmly bonded surface to maintain long-term contact. Sound interior latex paint over primed drywall, existing smooth glazed ceramic tile, acrylic splash panels, glass, and sealed metal or flat laminate provide dependable bonding conditions.
Textured finishes behave unpredictably. Knockdown texture, heavy orange peel, rough plaster, unsealed raw drywall, and flaking paint prevent the flat adhesive sheet from establishing full contact. Moisture and cooking oils migrate behind unbonded voids, causing sheet corners to lift within weeks. Removing adhesive panels from unprimed drywall or weathered paint will tear away the drywall facing paper at move-out, requiring patching and repainting.
Operating temperatures require strict attention. Standard vinyl and gel-composite backsplash products tolerate ambient kitchen humidity and warmth, but degrade, soften, or discolor above 120°F (49°C). Never install adhesive vinyl sheets in direct contact with open flames or resting against high-output cooktop surfaces. Apollo Tile and Smart Tiles specify maintaining at least 8 to 15 inches (20 to 38 cm) of horizontal clearance between the tile face and open gas burners, unless an integrated metal rear range guard or freestanding stainless backsplash panel isolates the wall from radiant flame.
Related guide: A calmer drawer, made from a cardboard box.
Surface Degreasing and Substrate Preparation
Cooking deposits a micro-thin layer of aerosolized cooking fats, grease, and moisture over kitchen walls. Affixing adhesive tiles over this unseen layer causes bond failure and perimeter curling. While standard liquid dish detergents cut pan grease, major adhesive tile manufacturers explicitly warn against washing installation walls with dish soap. Most dish soaps include surfactants, moisturizers, and rinse-aid additives that leave a thin lubricating film that breaks adhesive tack.
Prepare your installation zone using a dedicated non-residue degreaser:
- **Surface Washing:** Thoroughly scrub the wall using a solution of trisodium phosphate (TSP) substitute or a non-residue degreasing agent like Krud Kutter.
- **Rinsing:** Wipe down the entire wall with a clean sponge soaked in fresh warm water to pick up suspended grease and cleaning agents.
- **Complete Evaporation:** Wait at least 30 to 60 minutes until the wall surface is bone-dry. Trapped moisture behind impermeable vinyl panels prevents the adhesive from curing and can foster hidden mold growth.
- **Patching and Spot-Priming:** Fill old nail holes and minor gouges with spackle. Sand patches flush and apply an interior latex primer over the dried compound. Bare spackle or unprimed joint compound absorbs moisture from the tile backing and pulls away when sheets are removed.
Related guide: Rental Kitchen Storage: Choose Organizers That Fit
Mapping an Independent Baseline on Uneven Counters
Countertops in rental units are rarely level. Subfloors settle, lower cabinet boxes shift, and caulked perimeter seams vary in thickness. Aligning the first course of tiles directly against the countertop edge compounds slope errors across the room, creating visibly skewed grout lines across the first few feet.
Establish an independent level baseline before peeling any backing paper:
1. Locate the lowest physical point on your countertop run with a tape measure.
2. Measure vertically upward from that point to the exact height of one full tile sheet.
3. Using a 24-inch spirit level or laser level, draw a light horizontal baseline in pencil along the entire installation span.
4. Align the crisp top edge of your first horizontal course against this level line, letting the bottom of the tiles overhang down toward the counter.
5. Scribe and trim the lower edges of the bottom row using a utility knife to match the natural dips and rises of the countertop rim.
Starting against a true horizontal reference line keeps vertical grout seams straight across open walls, around corner returns, and under upper cabinets.
Related guide: Organize a Small Linen Closet Without Drilling
Measuring, Trimming, and Interlocking Seams
Most peel-and-stick tile panels feature staggered, interlocking grout tabs engineered to overlap neighboring sheets. This hidden joint conceals seams and mimics traditional grout joints. When beginning at an inside corner, cabinet gable, or vertical wall edge, your starting panel must have a straight, flat vertical margin.
- **Squaring the First Panel:** Place the first sheet face-up on a self-healing cutting mat. Use a sharp utility knife and a steel straightedge to cut off the protruding interlocking tabs on the leading side, producing a true 90-degree edge.
- **Managing the Adhesive Liner:** Never tear off the entire release paper at once. Peel back only 2 to 3 inches (5 to 8 cm) of liner from the top edge. Align the top boundary precisely along your marked pencil line, tack the exposed adhesive into place, then steadily peel the paper downward while smoothing the tile onto the wall with a soft cloth from the center outward.
- **Preventing Contamination:** Keep fingers away from the adhesive perimeter. Natural oils from your hands transfer to the backing, diminishing edge grip.
- **Seating Interlocking Joints:** Butt each subsequent sheet against its neighbor, draping the overlapping clear tab directly over the adjoining sheet's recessed flange. Press firmly along the seam with a microfiber cloth or wooden seam roller to interlock the materials without stretching the vinyl.
Fitting Wall Outlets and Switch Plates
Electrical outlets and GFCI switches interrupt flat wall runs and require careful cutouts. Never install adhesive tiles directly over plastic switch plates or tuck edges haphazardly under loose cover screws.
Begin by shutting off electrical power to the kitchen receptacles at your main circuit breaker panel. Verify the power is off using a non-contact voltage tester, then remove the faceplate screws and take off the trim plates.
Measure the vertical and horizontal distance from the reference edges of the adjacent installed tile sheet to the four outer edges of the metal electrical box. Transfer these layout dimensions onto the front face of the unpeeled tile sheet with a pencil. Place the sheet on your cutting mat and cut out the rectangular opening using a fresh utility blade.
Test-fit the cutout over the electrical box dry. The metal outlet mounting ears must rest securely against the solid drywall or original tile surface, not squished against the soft vinyl tile. Smooth the tile into place around the outlet perimeter, then reinstall the switch plate. Standard wall plates overlap the electrical box opening by roughly 0.25 inches (6 mm), concealing your cut edges.
Non-Destructive Removal at Move-Out
The main benefit of peel-and-stick wall panels for renters is clean removal without sacrificing your security deposit. However, pulling cold adhesive tiles straight off painted drywall creates high tensile stress that can rip away the paint layer and the underlying gypsum paper.
Follow a controlled heat-release procedure:
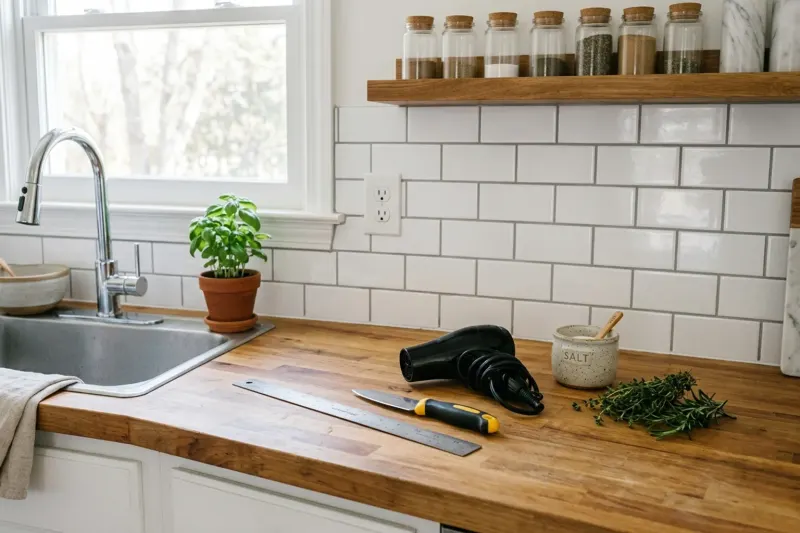
- **Thermal Softening:** Set an everyday hair dryer to medium heat. Hold the nozzle 3 to 4 inches (8 to 10 cm) away from a starting corner for 15 to 20 seconds. The warm air softens the pressure-sensitive acrylic adhesive.
- **Peeling Angle:** Pry up the softened corner with your fingernail or a plastic putty knife. Peel the sheet back slowly at an acute angle of 30 to 45 degrees against itself. Never pull outward at a perpendicular 90-degree angle, which pulls paint outward away from the drywall.
- **Continuous Warming:** Keep the hair dryer trained on the separation line where the tile meets the wall as you peel downward.
- **Clearing Adhesive Residue:** Any slight adhesive residue remaining on the painted wall can be wiped clean using a microfiber rag dampened with isopropyl rubbing alcohol or a citrus-based adhesive cleaner. Wash the wall with water afterward to leave a clean surface.
Substrate and Adhesive Compatibility
| Situation | Consider | Why |
|---|---|---|
| Smooth, sound painted drywall with satin or semi-gloss finish | Direct installation after TSP degreasing and complete drying | Standard interior latex wall paint releases clean adhesive bonds without tearing when warmed with hair dryer heat. |
| Existing smooth glazed ceramic or porcelain tile | Direct installation over existing tile surface | Glazed ceramic is non-porous and rigid, offering an ideal bonding surface that cleans easily without risk of paper tear-out during removal. |
| Textured drywall (knockdown, orange peel, or rough plaster) | Do not install removable adhesive tiles directly | Recesses prevent adhesive contact while high ridges concentrate adhesive grip, tearing out wall material upon removal. |
| Backsplash wall surface within 8 inches of gas range burner | Leave surface bare or install a freestanding stainless steel splash guard | Vinyl and gel-composite tiles soften and discolor above 120°F (49°C) and cannot endure direct exposure to burner heat or open flame. |
Worked Layout: 8-Foot Rental Counter Run
Consider a rental kitchen wall span measuring 96 in (243.8 cm) long by 18 in (45.7 cm) high between the countertop and the bottom edge of upper wall cabinets. Total wall coverage equals 12 sq ft (1.11 sq m).
- **Tile Size:** 12 in x 12 in (30.5 cm x 30.5 cm) interlocking self-adhesive composite mosaic sheets.
- **Baseline Calculation:** The backsplash requires 2 vertical courses (18 in height divided by 12 in tile height leaves a 6 in top trim).
- **Horizontal Count:** 96 in length divided by 12 in tile width equals 8 columns.
- **Base Tile Count:** 2 courses x 8 columns = 16 full sheets (16 sq ft / 1.49 sq m).
- **Overage Buffer:** Adding 10% for cuts around two outlet boxes and edge-tab trimming requires 2 extra sheets, totaling 18 sheets.
- **Trim Plan:** Row 1 aligns flush against the marked level baseline. Row 2 requires trimming 6 in (15.2 cm) off the top edge of each sheet to fit neatly beneath upper cabinet frames. Outlet cutouts span 2.75 in x 4.5 in (7 cm x 11.4 cm) within two lower-row sheets.
- Panel 1 (Edge Trimmed)
- Panel 2 (Standard)
- Outlet Cutout Area
- Panel 3 (Standard)
- Panel 4 (Right Edge)
When this approach is not a good fit
This method is unsuitable for high-heat cooking surrounds lacking an 8-inch burner clearance, wet shower enclosures, outdoor kitchens, peeling or unprimed drywall surfaces, and heavily textured stucco or knockdown walls.
PUT THIS GUIDE TO USE
Work with your own measurements
Sources & further reading
AI-assisted writing and concept images. Sources and automated checks support the process; they do not replace checking your own measurements.
How we create our guides · Suggest a correction