When you move into a rental kitchen, lining drawers protects the cabinetry from food grease and silverware scuffs, but adhesive contact paper comes with a real catch. Peeling glued paper off aging drawer bottoms often tears thin wood veneer or leaves a gummy film that requires harsh chemical strippers to dissolve. Non-adhesive grip liners offer a straightforward alternative. Held in place by surface friction and the weight of your kitchenware, these mats lift out cleanly on move-out day without scraping or chemical cleanup. Getting good results requires matching the liner style to your kitchenware, prepping the drawer bottom correctly, cutting for a flat fit, and monitoring older cabinet finishes so the polymer backing leaves no long-term marks.
Clean and dry the drawer base first
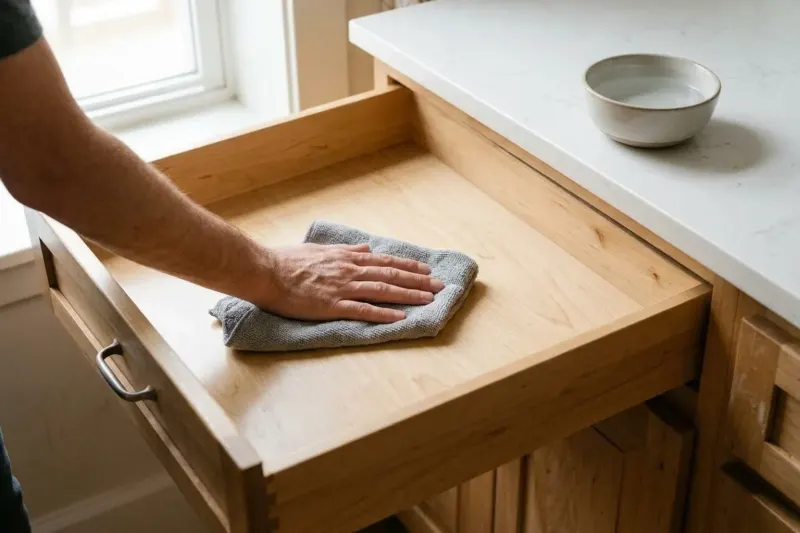
Rolling a fresh liner over dusty, crumb-filled wood guarantees that the mat will slide around. Dust, loose seasonings, and dried cooking oil act like tiny ball bearings under non-adhesive backing, destroying the friction that keeps it anchored. Cleaning drawer boxes requires removing visible grime first, followed by sanitizing if previous occupants left food residues behind. Empty the drawer completely and sweep out loose grit from the back corners. Wash the base and interior walls with a clean microfiber cloth dampened with warm water and a splash of mild dish soap to cut grease. Rinse the area with a second cloth dipped in clear water to lift any soap film, which can degrade rubberized backing over time. For non-porous surfaces that held sticky spills, sanitize using a solution of one teaspoon (5 ml) of unscented household chlorine bleach mixed into one quart (0.95 l) of cool water. Leave the solution on the surface wet for at least one full minute, and then allow the surface to air-dry completely rather than wiping it dry. Wiping sanitized areas with a towel risks recontamination and can cut necessary antimicrobial contact time short. Pull the drawer boxes open and let the interior wood air out thoroughly for several hours. Placing non-breathable polymer or vinyl over damp wood, plywood, or particleboard traps moisture beneath the liner, which can warp the wood base, cause musty odors, and invite mold growth.
Related guide: Peel-and-Stick Backsplashes for Rental Kitchens
Choose between open-weave and solid rolls
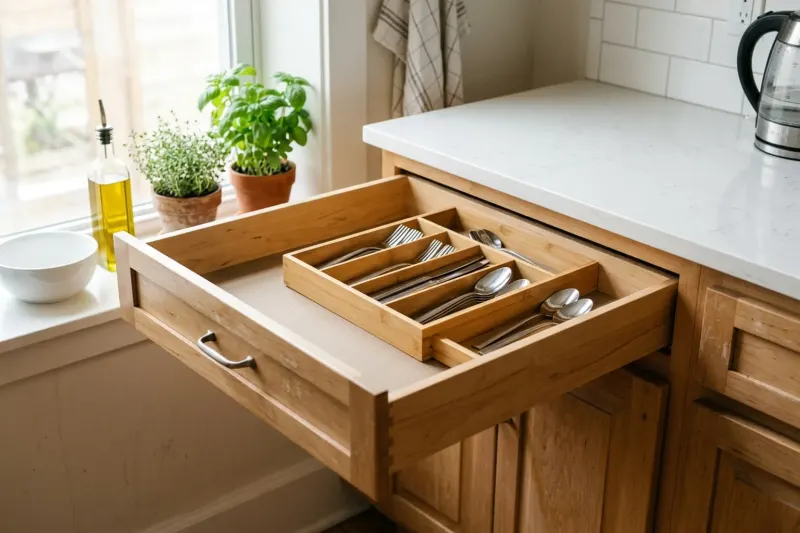
Non-adhesive shelf liners come primarily in two constructions: open-weave perforated foam and solid smooth-top vinyl. Each serves distinct kitchen tasks, and picking the right one prevents daily annoyance. Open-weave mesh liners consist of a soft, webbed polymer foam grid. This design allows air to circulate around damp items and provides thick cushioning that dampens the clatter of cast-iron pans, Dutch ovens, and heavy mixing bowls. The trade-off is cleanliness. In a silverware drawer or spice rack, fine debris like salt, dried herbs, and crumbs falls directly through the perforations onto the wooden bottom, requiring you to pull up the mat every few weeks to vacuum underneath. Solid smooth-top liners solve that problem by combining a textured grip bottom with a continuous, non-porous vinyl upper surface. Spills, flour dust, and sticky leaks remain trapped on top of the sheet where you can wipe them away with a sponge. The slick upper surface also allows modular cutlery bins, bamboo organizers, and dish stacks to slide easily into place without catching or bunching the liner. Both varieties are readily available in retail rolls measuring 12 inches (30.5 cm) wide for standard upper cabinets and narrow utensil drawers, and 20 inches (50.8 cm) wide for deep pots-and-pans pullouts and pantry shelves.
Related guide: Swap Rental Cabinet Hardware Without Damage
Measure and cut clean edges
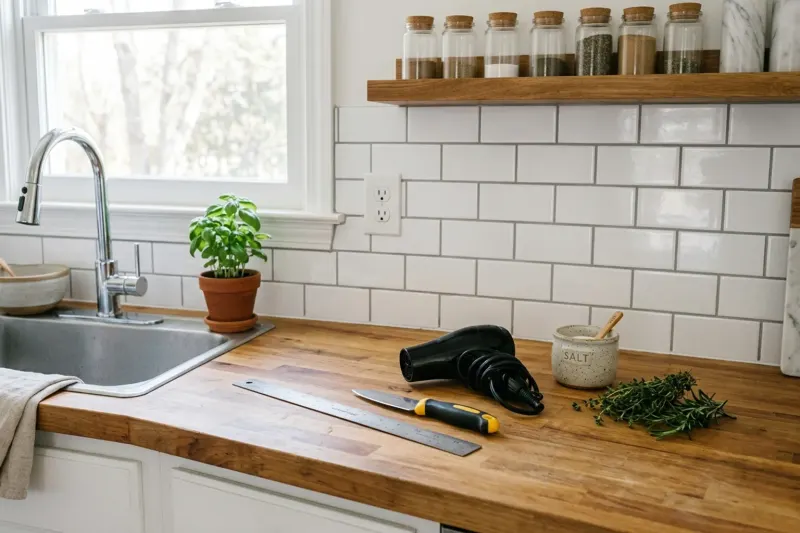
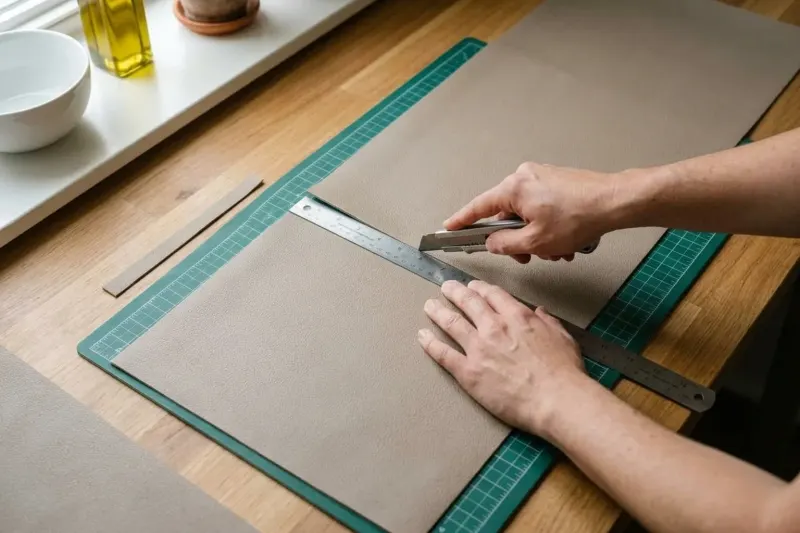
Rental cabinetry rarely features perfectly square drawer boxes. Seasonal humidity changes, building settlement, and manufacturing tolerances often leave drawer frames slightly out of alignment. If you take a single measurement across the front edge, your cut sheet may pinch and buckle near the back. Measure both the width and depth at the front and back of the drawer using a rigid steel tape measure, noting the smallest measurement in each direction. When cutting, trim the liner so it sits about 1/8 inch (3 mm) shy of each interior sidewall. Leaving this small clearance margin prevents the edges from riding up the sides of the drawer box under the friction of sliding items, which causes unsightly ridges and shifting. If your liner has a ribbed or crosshatch pattern, use the molded lines as straight guides for your shears. For smooth or unpatterned liners, lay the material flat on a craft cutting mat, mark cut lines with a soft pencil on the reverse side, and slice along a metal straightedge using a fresh utility knife or rotary cutter. When outfitting a set of matching drawers, measure the first drawer, cut a stiff cardboard or kraft paper template to fit, test it inside the drawer, and use it to quickly trace and cut the remaining liners.
Related guide: Bedside Storage in Tight Rental Rooms Without Nightstands
Flatten edges and maintain the finish
Because grip liners are wound tightly on cardboard tubes at the factory, cut pieces often have curled ends that refuse to lay flat. You can tame this curl by reverse-rolling the trimmed sheet against its natural bend for thirty seconds, or by weighting down the corners with heavy ceramic dinner plates or canned goods for a few hours before filling the drawer. While non-adhesive liners eliminate sticky adhesive residues, they are not completely maintenance-free. Liner manufacturers note that leaving polymer grip mats under heavy kitchenware on delicate or lacquered wood finishes for prolonged periods without movement can sometimes leave surface marks. Extended weight, ambient heat, and natural wood off-gassing can cause the textured foam to leave an imprint in softer clear coats. To keep rental surfaces in good condition, lift the liners twice a year during regular deep cleans to let the wood breathe. Wipe both sides of the mat with warm soapy water, let the drawer interior air out, and return the liner once everything is dry. If smooth-top or select-grip mats accumulate sticky cooking residues, wash them in a washing machine on a gentle, cold water cycle. Always lay them flat to air-dry; running them through a heated dryer will warp or melt the polymer.
Liner Selection by Drawer Contents
| Situation | Consider | Why |
|---|---|---|
| Flatware and modular organizer bins | Solid smooth-top liner (12 in / 30.5 cm roll) | The smooth upper surface allows organizer bins to slide into place easily without catching, while catching dropped crumbs above the wood base. |
| Heavy cast-iron cookware and stockpots | Thick open-weave cushioned foam mat (20 in / 50.8 cm roll) | Dense foam padding cushions the rental drawer base against heavy impact and rim scratches from heavy iron pans. |
| Spice jars and narrow extract bottles prone to tipping | Low-profile solid smooth liner | Provides a firm, level base that keeps tall, narrow containers from rocking or tipping over during drawer movement. |
| Vintage rental cabinets with delicate lacquer or soft varnish | Perforated grip mat with biannual lifting | Minimizes continuous contact area over sensitive clear coats and lets wood breathe during routine seasonal resets. |
Worked Example: Sizing and Cutting a Three-Drawer Stack
Consider a hypothetical rental kitchen with three identical base drawers, each measuring 16 inches (40.6 cm) wide by 20 inches (50.8 cm) deep inside. A renter purchases one 20-inch by 6-foot (50.8 cm by 182.9 cm) roll of smooth-top non-adhesive liner, an illustrative retail purchase of roughly $12 to $14. Because the 20-inch roll width matches the 50.8 cm interior drawer depth, each liner requires only a single crosscut along its width. Subtracting an 1/8-inch (0.3 cm) perimeter clearance yields a cutting width of 15.875 inches (40.3 cm). Cutting three 40.3 cm segments uses 120.9 cm of the 182.9 cm roll, leaving approximately 62 cm of clean surplus for smaller vanity trays or utensil caddies. Each drawer base is washed with soapy water, wiped with a clean damp rag, and left to dry for an hour before laying down the cut liners.
- Flatware Tray
- Utensil Caddy
- Back Storage Tray
When this approach is not a good fit
Non-adhesive grip liners are unsuitable for drawer boxes with peeling lead-based paint, rotted plywood, or crumbly disintegrating particleboard, as the textured backing traps loose dust and loses its grip. They should also never be placed in drawers suffering from active plumbing leaks or chronic high dampness, where impermeable polymer sheets trap water against the wood and accelerate cabinet rot.
PUT THIS GUIDE TO USE
Work with your own measurements
Sources & further reading
- Duck Brand Shelf Liner Usage Guide
- Con-Tact Brand FAQ and Surface Guidance
- University of Maine Cooperative Extension Kitchen Cleaning Procedures
- University of Missouri Extension Kitchen Cleaning Guide
AI-assisted writing and concept images. Sources and automated checks support the process; they do not replace checking your own measurements.
How we create our guides · Suggest a correction