When a rental bedroom leaves less than two feet between the mattress and the wall, a standard 18-inch nightstand blocks walkways and pinches electrical cords against baseboards. You do not need to balance a water glass on the floor or drill into landlord-owned plaster to solve this. Non-traditional bedside setups shift storage directly onto your bed frame or flat against side walls, keeping daily essentials close while keeping floor space completely open.
Checking walkway clearance and frame styles
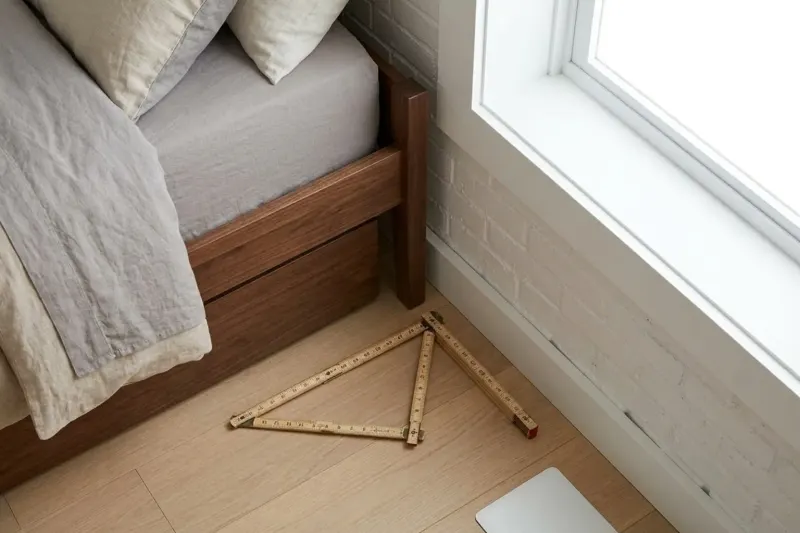
Before buying an organizer, measure the open floor gap beside your bed. Ergonomic standards documented by Panero and Zelnik in Human Dimension and Interior Space identify 24 inches (61 cm) as the functional minimum for walking alongside a bed and tucking in sheets, with 30 to 36 inches (76 to 91 cm) recommended for open circulation. If your clearance is under 20 inches (51 cm), any standard pedestal table turns the room into an obstacle course.
Next, look closely at your bed frame. Low-profile organizers rely on three primary attachment styles: sliding under the mattress, clamping over an exposed rail, or mounting to an adjacent side wall. Check whether your frame has a bare wood or metal rail with an accessible upper edge, or if it is an upholstered platform base. If you want a clamp-on shelf, measure the rail's outer lip. Most clamp mechanisms need a flat rim between 0.7 and 1.5 inches (1.8 to 3.8 cm) thick to grip securely.
Related guide: Organizing a Compact Rental Fridge with Bins
Using bed pockets and rail-clamp shelves
When floor clearance is essentially zero, mounting organizers directly to the bed structure avoids taking up any floor area at all.
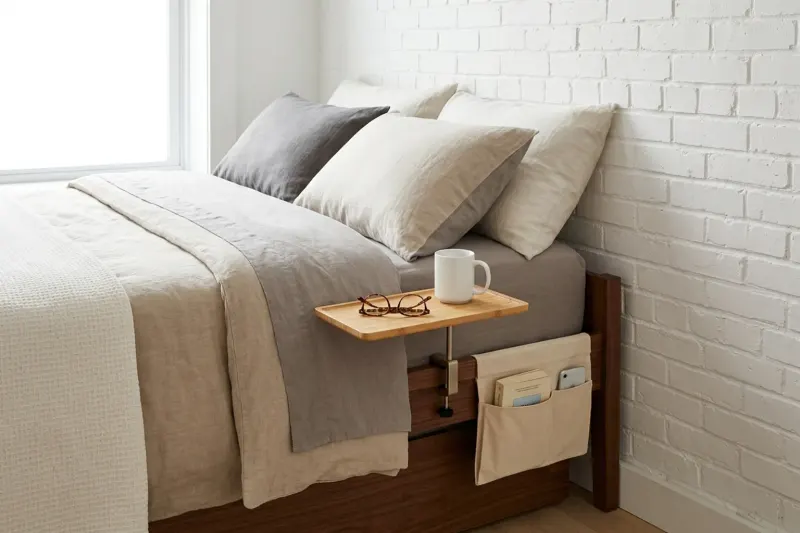
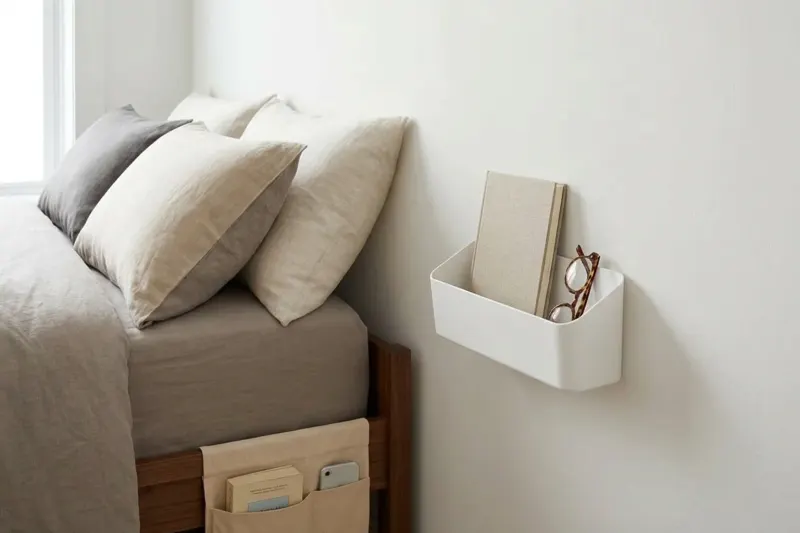
- **Fabric bed pockets:** These caddies feature an elongated fabric flap that tucks between the mattress and the bed slats or foundation. The weight of the sleeper and the mattress friction holds the pocket in place. Because they hang flat against the frame rail, pockets hold a phone, glasses, and an e-reader without protruding into walking space.
- **Clamp-on bedside shelves:** If you need a stable, level surface for a cup or medication, a clamp-on tray fastens directly to an exposed wooden or metal rail using hand-tightened screws. These trays generally extend 8 to 10 inches (20 to 25 cm) outward—roughly half the footprint of a traditional nightstand. Choose models with silicone or felt lining on the clamps so they do not dent or scratch the frame finish.
Keep in mind that rail-clamp trays are not meant for heavy loads. Avoid setting heavy electronics, tall stacks of books, or open hot beverages on them, since an accidental bump while climbing into bed can easily tip items over.
Related guide: Entryway Storage Without a Closet
Mounting wall caddies safely under rental rules
If your bed frame lacks an accessible rail or has an upholstered divan base, the drywall next to the bed head can support lightweight bins. However, rental leases restrict wall damage, and adhesive strips require careful handling to hold weight reliably.
- **Keep adhesive organizers away from sleeping areas:** In their product safety guidelines, 3M Command explicitly warns against mounting adhesive hooks, bins, or ledges directly above beds. Instead, install them on the perpendicular side wall next to your headboard, positioned low enough to reach from a resting position without hanging over your pillow.
- **Clean surfaces with alcohol:** Wipe the painted drywall with isopropyl rubbing alcohol and let it dry. Avoid household surface cleaners or disinfectant wipes, which leave behind chemical residues that prevent adhesive pads from bonding.
- **Follow cure times and limits:** Apply adhesive hardware only when room temperatures are between 50°F and 105°F (10°C to 40°C). Press the base firmly against the wall for 30 seconds, slide the caddy off its bracket, press the wall mount for another 30 seconds, and wait a full 60 minutes before hanging the bin and loading items. If the rental wall was recently painted, wait at least 7 days before applying adhesive strips to avoid peeling fresh paint.
- **Pull downward when removing:** When moving out, never pull the adhesive tab straight outward into the room. Support the bracket lightly and pull the tab straight downward along the wall surface for 12 to 15 inches (30 to 38 cm) until the strip stretches and releases cleanly.
Related guide: Small Pantry Storage with Bins and Turntables
Managing cords safely in tight bedroom corners
Narrow sleeping areas place charging cables, reading lamp cords, and clock plugs in close proximity to bedding and baseboards. According to the U.S. Consumer Product Safety Commission (CPSC), compressed, pinched, or damaged electrical cords are a recognized cause of residential fires.
- **Prevent cord compression:** Never shove a bed frame, headboard, or heavy post flush against a wall outlet where it can bend or pinch plugged-in cables. Maintain adequate clearance from the wall so that plugs and cords remain free from bending or mechanical pressure, or plug into a low-profile, right-angle adapter that directs cords flat along the baseboard without crushing the wire boot.
- **Do not trap cords under textiles:** Never tuck cords under rugs, route them through mattress gaps, or trap them beneath furniture legs. Heat produced inside electrical lines needs open air circulation to dissipate safely.
- **Anchor cable ends:** Stick a small adhesive cord clip to the back of the headboard or the edge of your clamp shelf. Securing the charging plug prevents cables from slipping behind the bed and reduces strain at the connection point.
Bedside Storage Options for Tight Spaces
| Situation | Consider | Why |
|---|---|---|
| Side clearance is under 12 inches (30 cm) with an exposed wooden rail | Clamp-on bed-rail tray | Provides a rigid, level surface for drinks and eyeglasses while extending only 8 to 10 inches into the walkway. |
| Side clearance is under 8 inches (20 cm) with an upholstered base | Fabric under-mattress hanging pocket | Requires zero floor area and adds negligible bulk against the mattress edge. |
| Bed sits in a corner flush against walls on two sides | Perpendicular wall adhesive caddy | Uses vertical wall space adjacent to the headboard without invading the sleeping zone overhead. |
| Side clearance is over 24 inches (61 cm) without lease mounting limits | Slim freestanding accent stool or slender pedestal | Leaves sufficient walking space while avoiding mechanical frame clamps or wall adhesives. |
Worked Spacing and Clearance Plan for a Studio Bedroom
In an illustrative 9-by-10-foot (274 by 305 cm) studio layout, a standard full-size bed (54 by 75 inches / 137 by 191 cm) leaves an 18-inch (46 cm) aisle against the exterior wall. Placing an 18-inch-wide bedside table reduces walking clearance to 0 inches, making it difficult to make the bed or step out of it. Replacing the table with a 9-inch-wide (23 cm) clamp-on tray leaves 9 inches (23 cm) of open space, while a hanging fabric pocket leaves roughly 16 inches (41 cm) of unobstructed floor area. Choosing rail-mounted or fabric storage keeps the circulation passage open without adding freestanding floor clutter.
- Bed Frame & Mattress
- Clamp-On Bedside Tray
- Clear Floor Walkway
When this approach is not a good fit
Low-profile organizers are unsuitable for heavy medical equipment such as CPAP machines, large humidifiers, heavy book stacks, or tall table lamps, which require a broad, grounded table rated for heavy loads.
Sources & further reading
- 3M Command Product FAQ and Safety Warnings
- 3M Command Strip Application Instructions
- Panero & Zelnik: Human Dimension and Interior Space
- CPSC Home Electrical and Extension Cord Safety
- CPSC Furniture Tip-Over and Stability Standard
AI-assisted writing and concept images. Sources and automated checks support the process; they do not replace checking your own measurements.
How we create our guides · Suggest a correction