Renting often means adapting to a kitchen pantry you cannot alter. Fixed shelf heights, deep recesses, and narrow wall cabinets make it easy for canned goods and spices to drift out of reach. While building custom pull-out drawers or mounting track hardware usually violates lease agreements, a pair of freestanding tools—rotating turntables and clear acrylic bins—can turn static shelves into an organized, functional system. Together, they bring tucked-away items into clear view without requiring screws, wall anchors, or adhesive strips.
Measuring Usable Shelf Depth and Clearances
Before picking out storage containers, measure the interior footprint of your cabinetry. Upper wall cabinets in rental apartments typically have an interior depth of 11 to 12 inches, while dedicated reach-in pantry closets generally run between 14 and 24 inches deep. Measure from the rear wall to the back edge of the cabinet face frame rather than the outer shelf trim. Cabinet door hinges, catches, and face frames often take up half an inch to an inch of clearance, which can block doors from shutting if a container protrudes too far forward. Turntables demand special attention to their rotational arc. A 9- or 10-inch turntable easily clears a standard 11-inch cabinet depth, while a 12-inch model requires deeper pantry shelving to rotate without bumping the back wall or jamming against door hinges. Height clearance matters just as much. Measure the distance between shelves and add at least two inches above your tallest bottle or canister so you can lift items off the tray without clipping the shelf above.
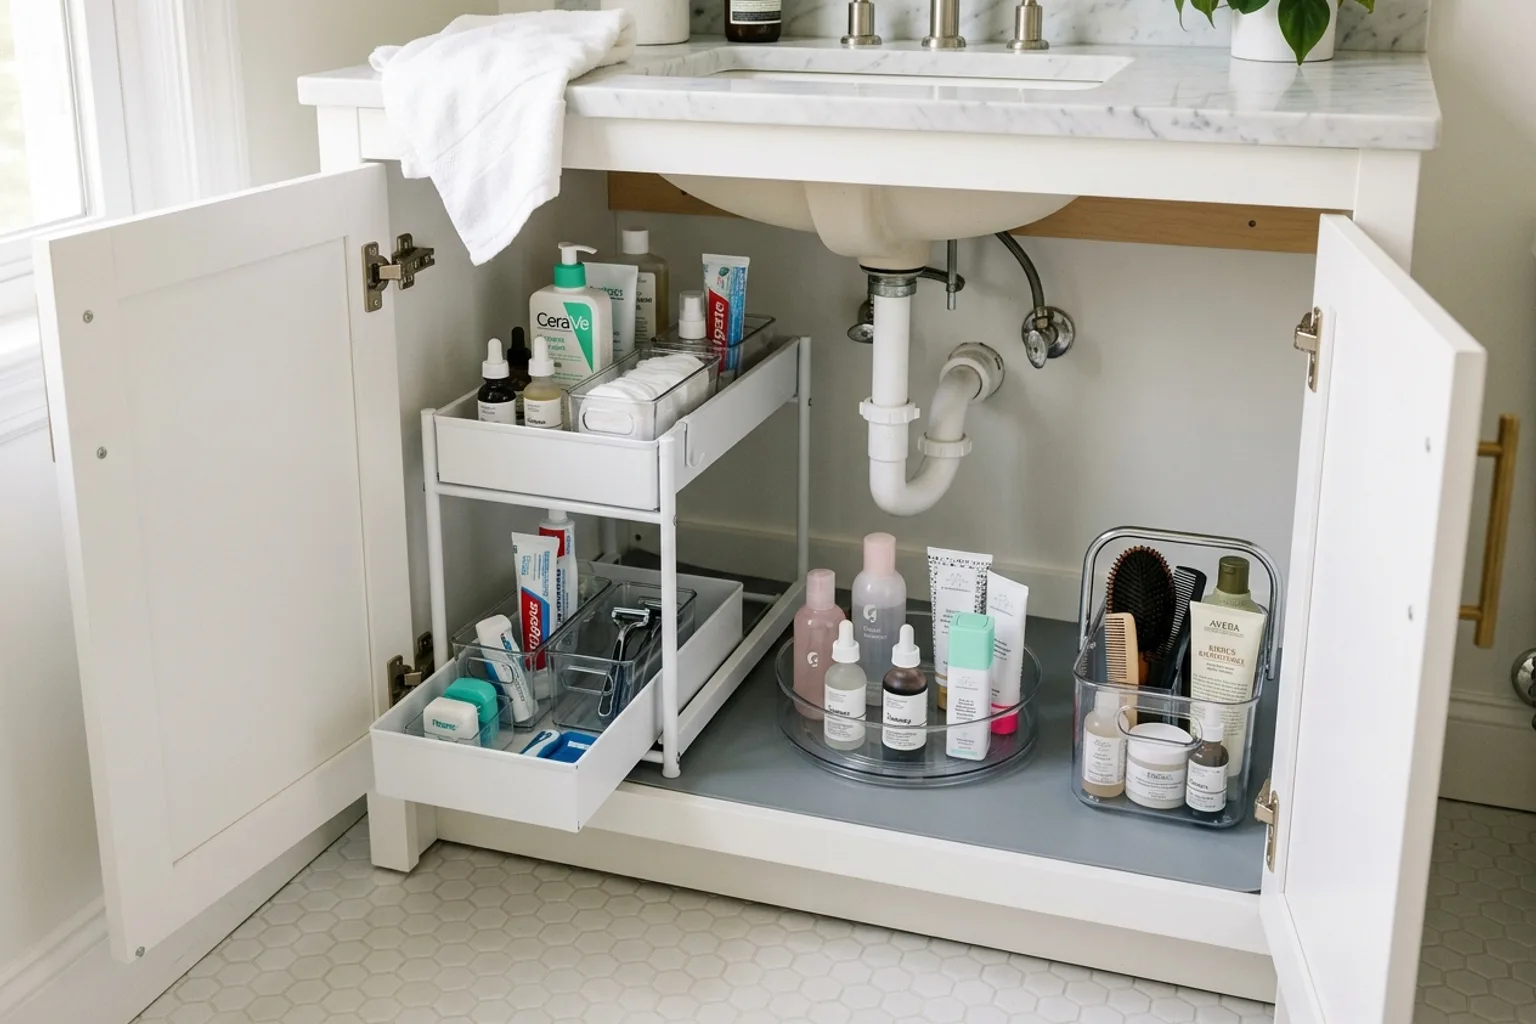
Related guide: How to Maximize Under-Sink Storage in a Rental Bathroom with Freestanding Organizers
Eliminating Blind Spots with Freestanding Turntables
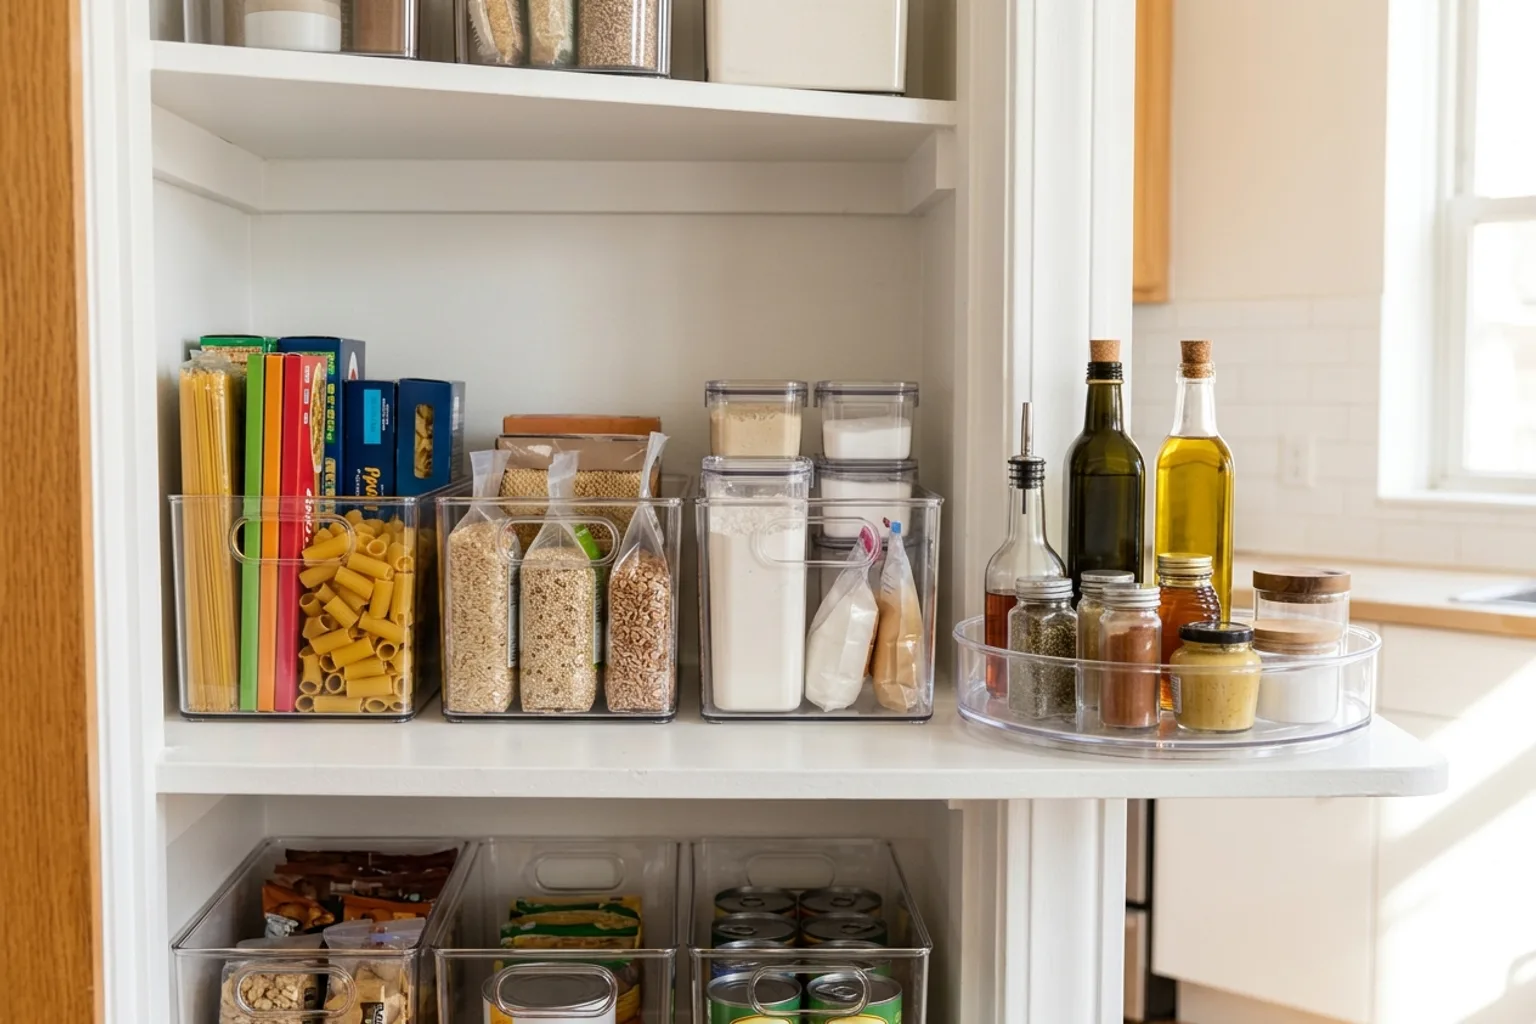
Round turntables, or lazy susans, prevent ingredients from being pushed into dark cabinet corners. Placing a circular organizer on a square shelf does leave empty space around the perimeter, but the trade-off is worth it: a gentle spin brings items stored at the back straight to the front. Look for freestanding turntables built on wide bases with smooth steel ball bearings and non-skid rubber feet. Rubber pads keep the base from sliding across slick laminate shelves and protect rental finishes from scuff marks. A raised perimeter rim between one and three inches tall is essential for stability. Tall bottles of olive oil, soy sauce, and vinegar can tip off a flat, rimless disc under rotational momentum. Turntables work best for round and irregular bottles that do not line up neatly in rows, including condiment jars, cooking oils, and honey dispensers. For smaller items like spice jars, bouillon cubes, or seasoning packets, use modular wedge-shaped bins made to sit directly on the turntable surface to keep them from tumbling over.
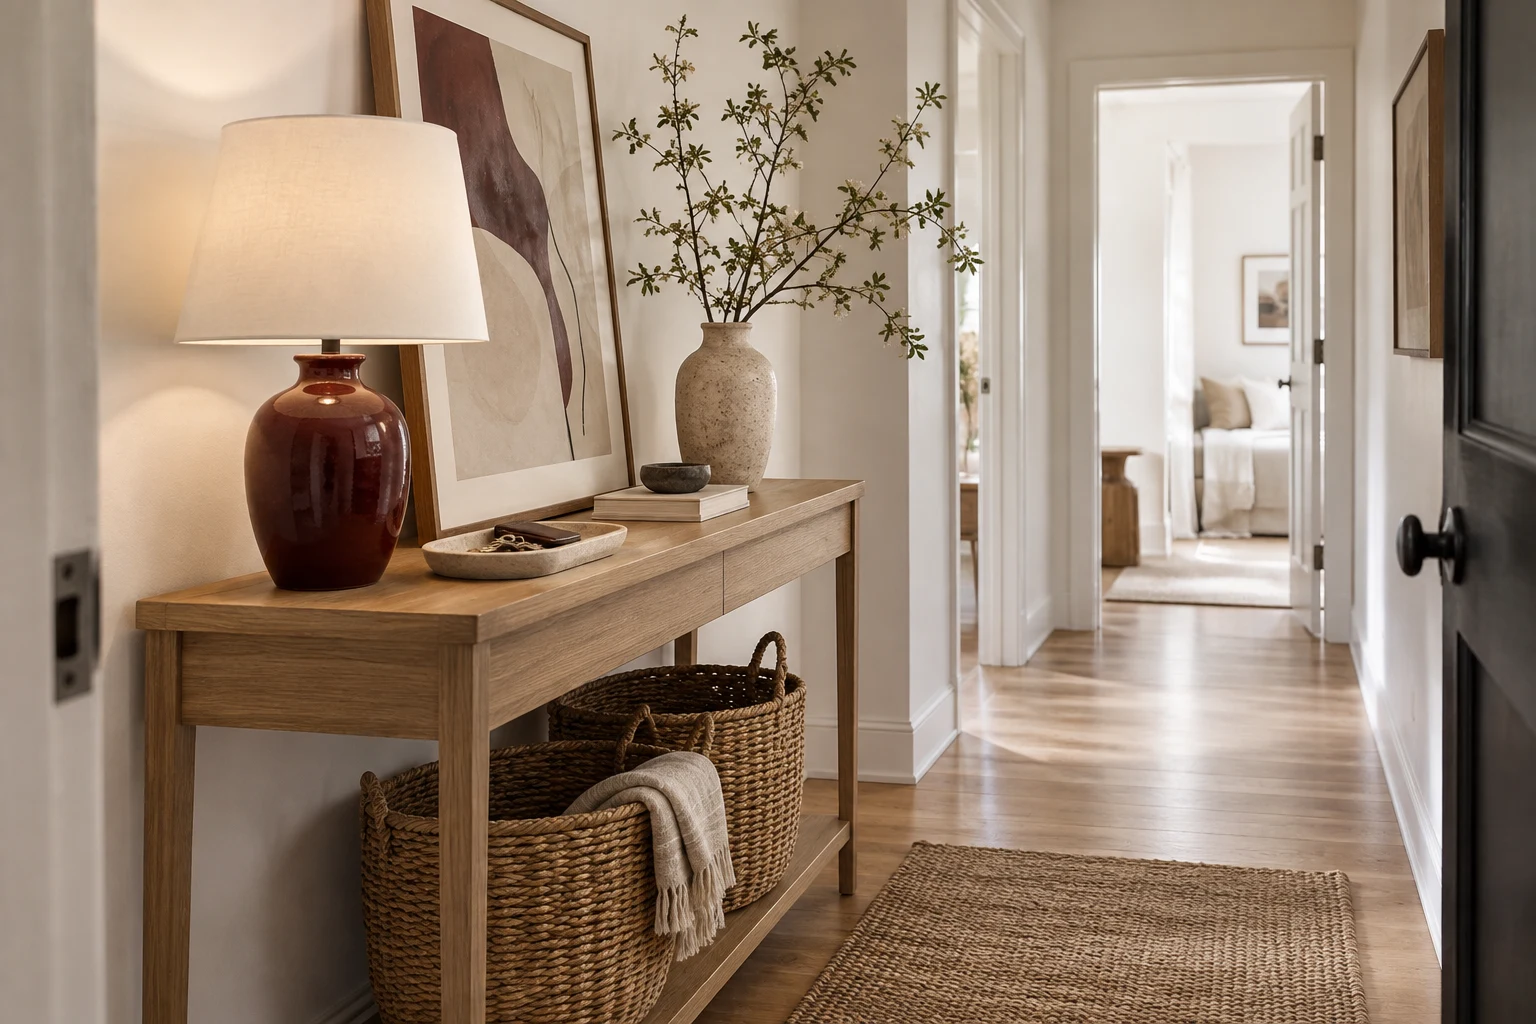
Related guide: No closet? Your entryway can still have a place for everything.
Transforming Fixed Shelves with Clear Bins
While round turntables solve corner accessibility, straight runs of shelving work best with rectangular clear acrylic bins. Deep, narrow acrylic or BPA-free plastic bins serve as modular pull-out drawers on fixed rental shelving. Instead of reaching past rows of cans, you slide the bin forward by its cutout handle to see everything inside from above. Clear walls eliminate guesswork by revealing remaining quantities, supporting a first-in, first-out routine that cuts down on accidental duplicate purchases. Choose bins with straight vertical sides rather than flared taper edges to maximize shelf volume and eliminate awkward gaps between containers. Group dry goods using the principle of like-with-like. Dedicate one bin to baking essentials such as cornstarch, baking powder, and sugar bags. Reserve another for grains and dried pastas, a third for snacks, and a fourth for breakfast staples such as rolled oats and tea cartons. Grouping items also contains everyday messes: if a flour bag leaks or a rice pouch tears, the spill stays inside a washable plastic bin rather than staining rental shelves.
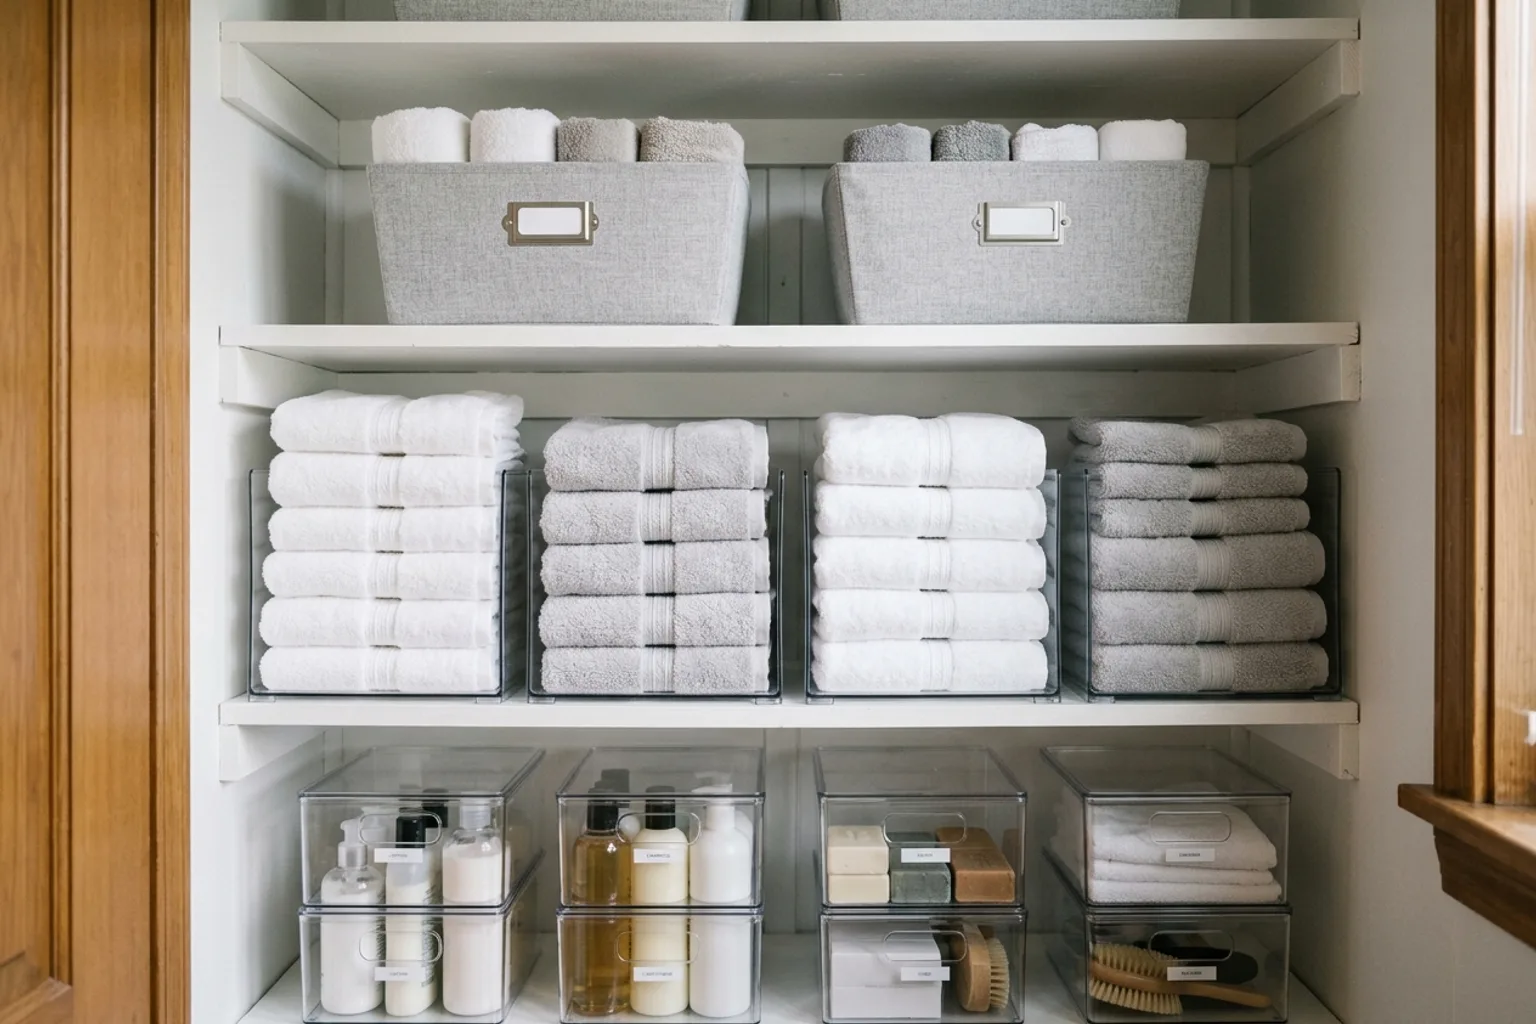
Related guide: How to Organize a Small Rental Linen Closet with Freestanding Bins and Shelf Dividers
Zoning Compact Shelving for Daily Cooking Routines
Organizing small pantry shelves requires clear vertical zoning based on how often you reach for each item. Keep the prime zone—the shelf between eye and waist level—for daily cooking staples. Place a low-profile turntable with everyday cooking oils, kosher salt, and pepper on the side closest to the stove, and place clear bins holding breakfast supplies or daily snacks right beside it. Reserve upper shelves for secondary ingredients. Infrequently used items, such as seasonal baking supplies, extra pasta boxes, or specialty extracts, belong in handled clear bins on higher shelves. Because you reach for high bins from underneath, choose lightweight containers with sturdy molded handle cutouts to ensure a secure grip. Lower shelves or the pantry floor should hold heavy bulk goods, including canned broth cartons, bottled water, and ventilated bins for sturdy root vegetables like onions and potatoes. Keeping heavy flour bags and bulk cans low reduces the strain of lifting weight above shoulder level.
Rental-Safe Surface Protection and Labeling
Protecting existing finishes should always be part of a rental pantry setup. Line your shelves with non-adhesive grip or smooth ethylene-vinyl acetate (EVA) shelf liner before setting down organizers. Steer clear of adhesive contact paper, which often bonds permanently to rental particle board or strips veneer when removed at move-out. Non-adhesive liners catch oil drips, vinegar rings, and syrup spills, keeping moisture away from the shelving underneath. When labeling bins, skip paper stickers that leave gummy residue. Opt instead for plastic bin clips that slip over the front lip of the acrylic container. You can also write directly on the polished front face with water-soluble chalk markers or dry-erase pens, which wipe clean with a damp microfiber cloth when categories change. For noting expiration dates on opened dry goods or decanted bulk items, use a small piece of low-tack blue painter tape or washi tape on the bin edge; both peel off cleanly without leaving a mark.
Balancing Layout Trade-Offs in Tight Cupboards
Small rental pantries require practical layout compromises. Placing a circular turntable inside a rectangular cabinet leaves triangular empty spaces in the rear corners. Cramming small containers into those gaps defeats the purpose of the organizer, because loose bottles easily jam the rotating base. Treat those corner clearances as intentional buffers that allow smooth 360-degree rotation. In narrow cupboards under 12 inches wide, a single turntable may fill the entire shelf. In wider cabinets, push the turntable into a back corner and flank it with rectangular bins to maximize linear shelf space. When arranging containers side by side, leave about an inch of clearance between the outer rim of the turntable and adjacent bins. This small buffer prevents containers from knocking into one another when you slide a bin forward or spin the turntable. Prioritizing clear visibility and easy handling over jam-packed capacity creates a reliable storage system that holds up through everyday cooking.
Sources & further reading
AI-assisted writing and concept images. Sources and automated checks support the process; they do not replace checking your own measurements.
How we create our guides · Suggest a correction