If closing the blinds makes your room too dark, a decorative static-cling film may be worth considering. Choose one intended for your type of glass, check your lease, and read its installation instructions before cutting. Adhesive-free does not mean every film suits every window, and a frosted appearance does not guarantee privacy in every lighting condition.
Check the window and the film
Start by reading the exact product description. Static-cling decorative film and adhesive solar-control film can have different installation requirements. Do not transfer instructions from one to the other, or from an automotive product to a residential window.
Check the film maker's guidance for the glass type and location. If the window has a coating, damage, an unfamiliar finish or a warranty restriction, ask the window supplier before applying anything. A renter should also check the lease or ask the landlord about permitted window coverings.
Think about the view you want to obscure. Covering a lower pane preserves a clear view through the upper part, but privacy depends on the pattern, coverage, lighting and viewing distance. If privacy matters after dark, check a sample in those conditions before relying on it.
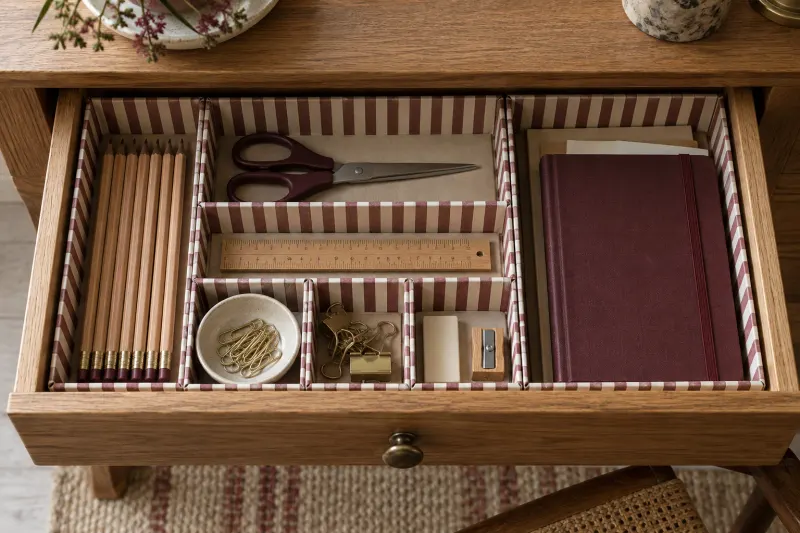
Related guide: A calmer drawer, made from a cardboard box.
Gather what your product requires
Use the materials specified for the selected film. A basic preparation list often includes a tape measure, clean work surface, lint-free cloths, a suitable application solution and the recommended smoothing tool. Keep the product instructions beside the work area.
Do not improvise a soap mixture when the manufacturer requires its own solution or gives a specific dilution. Likewise, check whether the product expects an initial oversize cut followed by trimming, or whether a carefully measured piece can be cut away from the window.
Protect nearby finishes from liquid and keep the work area clear. If cutting is required, use an appropriate cutting surface and keep fingers clear of the blade. Do not use a blade against an unfamiliar pane or its seals simply because a general installation guide shows one.
Related guide: Peel-and-Stick Backsplashes for Rental Kitchens
Clean without damaging the glass
Clean the glass with a method allowed by the window manufacturer as well as the film instructions. Grit left under the film can show through; aggressive scraping can create a different problem.
A razor is not a universal glass-cleaning tool. Avoid scraping coated, damaged or unidentified glass unless its manufacturer explicitly permits the method. If residue will not come off with an approved gentle method, stop and ask for guidance instead of pressing harder.
Wipe dust from the surrounding frame before the final glass cleaning, and protect the sill from runoff. Work within the installation temperature and sunlight conditions stated for the film. A pane in strong direct sun may be harder to work on because the application liquid dries quickly.
Related guide: A small living room. A little more possibility.
Measure for the specified edge gap
Measure the exposed glass rather than the outside of the frame. Write down width and height, then check each measurement again before marking the film. An older window may not be perfectly square, so take readings in more than one position.
Use the perimeter gap specified for your chosen film. Do not assume a single gap applies to every brand or material. The worked example below uses a hypothetical gap to show the arithmetic; it is not a substitute for the product instructions.
Plan where the cutting will happen before opening the roll. A clean, protected flat surface is easier to organize than balancing a roll on the sill. Keep the pattern orientation in mind, particularly if several panes should look consistent. Avoid stretching the sheet while measuring or positioning it.
Apply the film and work out the bubbles
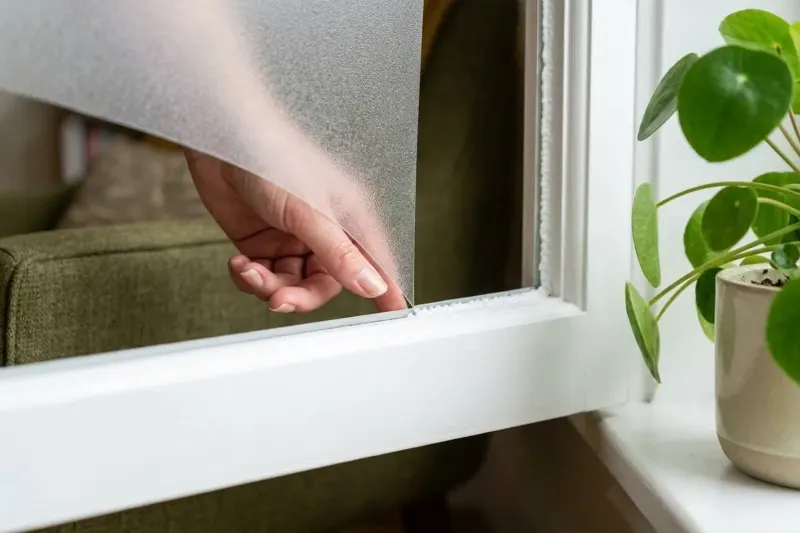
Follow the product sequence for separating the backing, wetting the film or glass and positioning the sheet. Check that you have removed the correct liner and that the intended side faces the window.
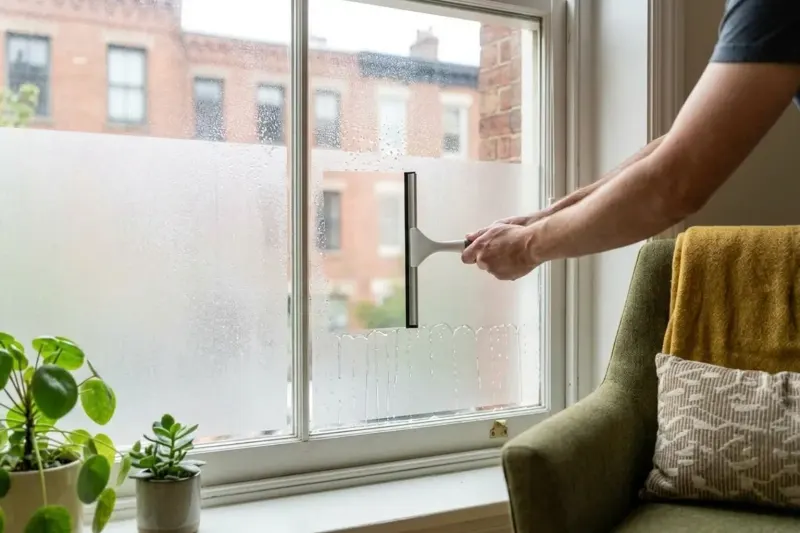
Align the film before pressing it firmly into place. Use the specified smoothing tool and stroke pattern to work air and excess liquid toward the edges. Protect the frame and sill: runoff is not harmless to every painted or wooden surface.
If the sheet folds, catches debris or pulls out of position, pause and consult the instructions for lifting and repositioning. Forcing a crease flat can leave a visible mark. After smoothing, inspect from more than one angle while the surrounding area is still easy to clean.
Check the edges and plan for removal
A lifted corner can have several causes, including contamination, an unsuitable edge fit or a product that does not suit the surface. Check those possibilities before trimming repeatedly or adding adhesive.
Use the manufacturer's cleaning and removal instructions. A static-cling product is designed to be removable, but that does not establish that every pane, coating or nearby finish will be unaffected. Do not promise yourself a deposit outcome on the strength of a generic guide.
Keep the product name and instructions with your home records. If you plan to reuse the film, check how it should be cleaned and stored. Stop if removal requires unexpected force or the glass appears damaged; a window covering is not worth a damaged pane.
Choosing Static Film Coverage and Pattern Styles
| Situation | Consider | Why |
|---|---|---|
| You want daylight above eye level | Consider partial coverage of a suitable pane | Check the actual sightline and lighting before choosing the coverage. |
| Privacy after dark is essential | Evaluate a sample with indoor lights on | Patterns and conditions vary; appearance in daylight is not proof of night privacy. |
| The glass type or coating is unknown | Ask the window supplier before applying film | Adhesive-free does not establish compatibility. |
Worked Sizing Example: Lower Sash on a Double-Hung Window
Hypothetical example: the exposed pane measures 28 by 24 inches (71.12 by 60.96 cm), and the chosen product instructions call for a 1/16-inch gap at each edge. Subtract two gaps, or 1/8 inch (about 3.2 mm), from each dimension. The resulting piece is 27 7/8 by 23 7/8 inches (about 70.8 by 60.6 cm). Use your own pane measurements and the actual product gap; these are arithmetic examples, not a universal cutting specification.
When this approach is not a good fit
Do not proceed with damaged glass, an unconfirmed coating, a product intended for another use, or a lease restriction you have not resolved. Choose another covering if the required privacy cannot be achieved by the selected film.
Sources & further reading
- Gila residential film guidance and compatibility questions
- Gila product-specific installation documents
AI-assisted writing and concept images. Sources and automated checks support the process; they do not replace checking your own measurements.
How we create our guides · Suggest a correction