
To perfectly repair a small chip in a white quartz countertop, use a specialized quartz repair kit. The process involves cleaning the chip with denatured alcohol, carefully filling it with a color-matched epoxy or light-curing acrylic resin, allowing it to cure fully, and then meticulously sanding and polishing the area until it blends seamlessly with the surrounding surface.
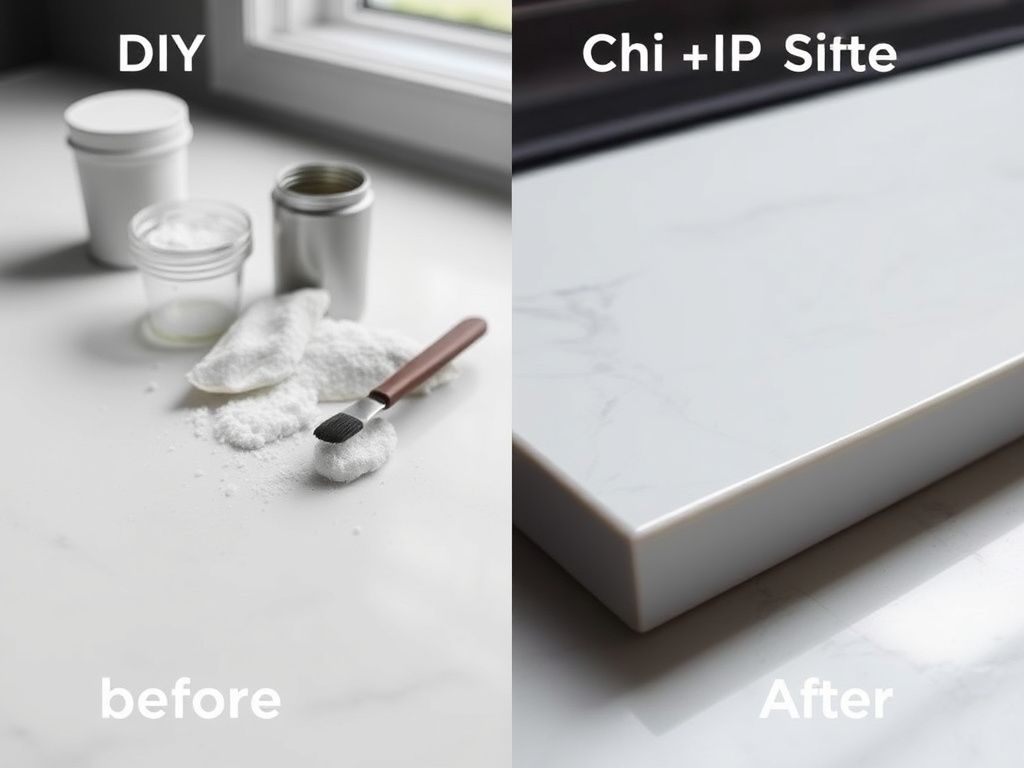
That sinking feeling. You're unloading the dishwasher or moving a heavy pan, and you hear it—a sharp tick. You look down to find a small, jagged chip marring the pristine surface of your white quartz countertop. Before you panic and start researching replacement costs, take a deep breath. For most minor chips and dings, a DIY repair is not only possible but can yield results so flawless that even you will have trouble finding the original damage.
Engineered quartz is one of the most durable countertop materials available, but it isn't indestructible. A heavy cast-iron skillet dropped from the right height can defeat any surface. As a veteran in lifestyle design and material maintenance, I've seen it all. The good news is that the composition of quartz—natural quartz crystals suspended in a polymer resin—lends itself exceptionally well to repair. We're essentially performing micro-surgery, filling the void with a new resin that bonds to the original material.
This guide will walk you through the professional-grade process for achieving a seamless repair on your white quartz, turning a moment of panic into a satisfying DIY victory.
Understanding Your Surface: Why Quartz Repair Works
Before we touch any tools, it's crucial to understand what you're working with. Unlike natural stone like marble or granite, which is porous and quarried in slabs, engineered quartz is a composite material. It's typically composed of about 90-95% ground natural quartz and 5-10% polymer resins and pigments. This manufacturing process is what gives quartz its consistent color, pattern, and non-porous durability.
This resin-based structure is the key to our success. When we apply a clear or color-matched adhesive, it's not just sitting on top; it's chemically bonding with the existing resin in the countertop. This creates a monolithic, durable finish that becomes part of the surface itself. Our goal isn't to just "patch" the hole, but to reintegrate it.
Pre-Repair Assessment and Material Gathering
Not all chips are created equal. A small, shallow flake on an edge is a perfect candidate for this guide. A deep crater in the middle of a high-traffic area is more challenging. A long, spiderwebbing crack? That's a different beast entirely and often requires a professional for surface restoration.
Assess the Damage:
- Size: Is it smaller than a pea? Excellent. Up to the size of a dime? Manageable.
- Depth: Can you barely feel it with your fingernail, or is it a deep pit? Deeper chips may require applying the filler in two thin layers.
- Location: Edge chips are the most common and easiest to fix. Chips on the flat surface require more careful blending.
Once you've deemed it a DIY-friendly job, gather your toolkit. Having everything on hand before you start is non-negotiable for a clean, efficient repair.
Your Essential Toolkit:
- A Quality Quartz Repair Kit: This is the heart of the operation. Look for light-curing acrylic (LCA) kits, which are favored by professionals. They cure on-demand with a small UV light, giving you unlimited working time. For white quartz, a clear resin is often best, as it will take on the hue of the material beneath it. Some kits come with white or grey tints for better color matching.
- Denatured Alcohol or Acetone: For surgically cleaning the chip of any oils, dust, or residue. Do not use standard household cleaners.
- Painter's Tape: To isolate the repair area and protect the surrounding countertop.
- A Fresh, Single-Edge Razor Blade: For precisely leveling the cured resin.
- Micro-Applicator Tips or a Toothpick: For applying the resin with precision.
- Fine-Grit Sandpaper: A multi-pack with grits ranging from 400 up to 2000 or higher is ideal for feathering the edges of the repair.
- Polishing Compound: A stone-specific or even an automotive polishing compound to bring back the factory sheen.
- Clean Microfiber Cloths: For cleaning and polishing.
The Step-by-Step Guide to a Flawless Quartz Repair
Follow these steps meticulously. Rushing any stage, especially the prep work, is the primary reason for subpar results. Think of yourself as a restorer, not just a handyman.
Step 1: The Deep Clean
This is the most critical and most often skipped step. Any contaminants in the chip will prevent the resin from forming a strong bond.