Quick Answer: Joy-Con drift is caused by worn analog stick components sending false input signals even when the stick is untouched. Before paying for repairs, try Nintendo's built-in calibration tool, clean the stick base with isopropyl alcohol, adjust the input threshold in settings, or replace the analog stick module — in that order. Most drift cases are fixable without professional help.
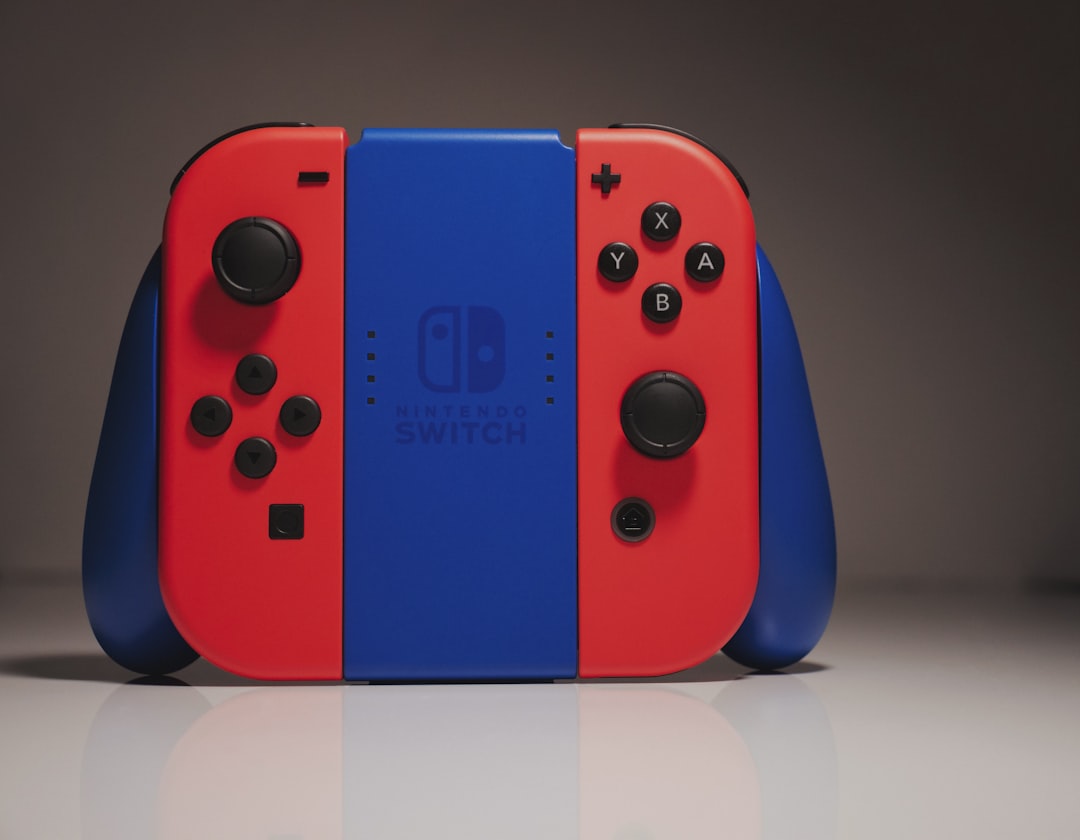
If you've owned a Nintendo Switch long enough, you already know the feeling. You're mid-platformer, standing completely still, and your character starts walking left on its own. Or the camera drifts slowly upward during a cutscene, as if operated by a ghost. You set the controller down on the table — nothing touching it — and the input keeps registering.
That's Joy-Con drift. And it's one of the most consistently reported, consistently frustrating, and — critically — preventable and fixable hardware problems in modern gaming history.
The repair and calibration process isn't glamorous. It involves cotton swabs, isopropyl alcohol, firmware menus buried three levels deep, and occasionally a small Phillips screwdriver. But understanding why drift happens matters as much as knowing how to fix it, because the fix you choose has to match the actual failure mode. Spraying compressed air into the wrong place doesn't help. Recalibrating when the hardware is already worn doesn't help either. And replacing the entire Joy-Con when only a $4 analog stick module is failing is just waste.
This guide exists to close the gap between the generic "have you tried turning it off and on again" Nintendo support scripts and the actual, hands-in-the-hardware reality of what's going wrong and how to address it.
Why Joy-Con Drift Happens: The Actual Mechanism
Potentiometer Wear and the Physics of Failure
The analog stick in a Joy-Con uses a potentiometer—a resistive sensor that measures position, and much like how complex sensor issues can affect your Dreame L20 Ultra navigation, these components can fail due to physical wear. The physical mechanism is two carbon contact tracks (one for the X-axis, one for the Y-axis) with a small wiper that slides across them. As you push the stick around, the wiper's position on the track determines the voltage output, which maps to directional input.
This is the same basic mechanism that's been used in game controllers since the 1990s. It's not exotic technology; it's functional, yet prone to wear, much like how high-tech gear can suffer from Wi-Fi 7 packet loss or other performance degradation over time.
On the Joy-Con specifically, the carbon contact material on the tracks is thin. Nintendo's choice of component size — the entire analog module is dramatically smaller than what you'd find in a DualSense or Xbox controller — means the contact surface area is reduced, the wiper pressure per unit area is higher, and the wear rate is faster. There's no industry consensus benchmark available for exact lifecycle numbers, but repair technicians across iFixit, Reddit's r/JoyCons community, and YouTube repair channels have consistently documented visible track wear in Joy-Cons after 200–400 hours of use.
When the carbon wears away unevenly, the electrical resistance at the "center" position drifts from its calibrated value. The Switch interprets this as a small but persistent directional input. That's drift.
The Dust and Debris Problem
A separate, often overlooked cause: particulate contamination under the stick cap. Fine debris — dust, skin cells, tiny fibers — migrates under the rubber cap and accumulates around the base of the potentiometer. This physically interferes with the wiper's resting position and can cause intermittent or consistent false inputs that mimic potentiometer wear but are actually mechanical obstruction.
This is important because it's often reversible, unlike scenarios where you need a PS5 CMOS battery replacement or other intensive internal hardware fixes. Worn carbon tracks are not.
Firmware and Calibration Offset Issues
A third, less common cause is calibration data corruption or drift in the software deadzone values. The Switch stores analog stick calibration data in the Joy-Con's onboard memory. In some cases — particularly after firmware updates or after Joy-Cons have been factory reset — the stored center-point values are off. This is the easiest problem to fix and should always be the first thing you check.
Step 1: Nintendo's Built-In Calibration Tool
Before touching anything physical, go into the Switch's system settings and run the analog stick calibration process. It's buried, but it's there.
Path: System Settings → Controllers and Sensors → Calibrate Control Sticks
The calibration sequence walks you through moving the stick to its full range of motion and then releasing it to center. The Switch recalculates the center-point and saves new calibration data to the Joy-Con.
What this actually does: It doesn't fix hardware wear. What it does is re-establish the software's understanding of where "center" is. If your drift is mild and inconsistent — meaning it only happens occasionally or only in certain games — there's a real chance the calibration data has drifted rather than the hardware.
What to watch for: After calibration, go to System Settings → Controllers and Sensors → Test Input Devices → Test Control Sticks. You'll see a live readout of the stick's position. If the center dot is sitting on the crosshair perfectly still and drift-free, calibration solved it. If it's still wandering — even slightly — you have a hardware problem.
Known failure mode: Nintendo's calibration tool occasionally fails silently. Multiple users on r/NintendoSwitch have reported that after running calibration, the test screen shows normal behavior, but the drift returns in-game. This seems to happen when the potentiometer wear is severe enough that center position becomes inconsistent — it reads correctly during the calibration sequence but then shifts during gameplay. If this is your experience, move on.
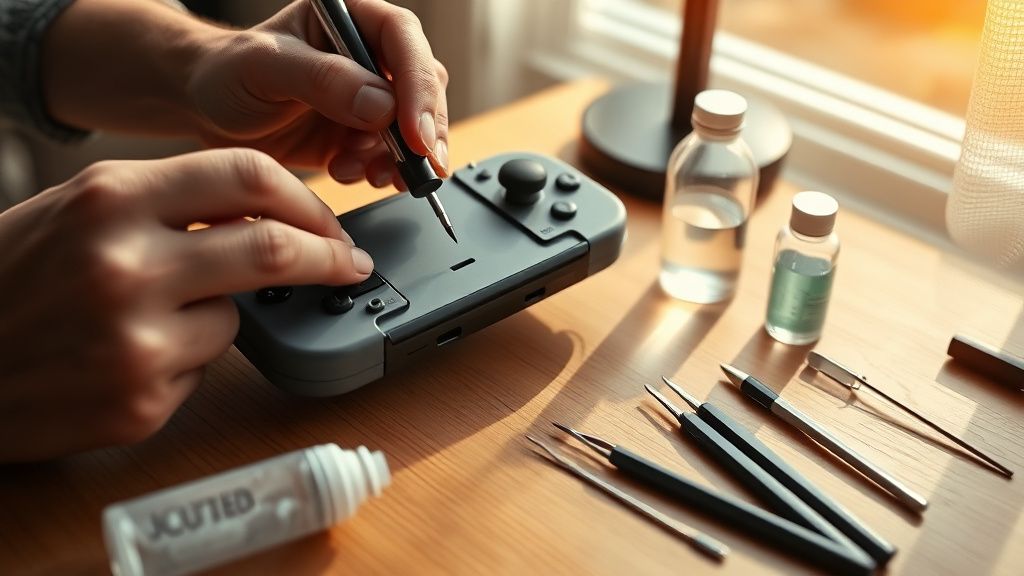
Step 2: Isopropyl Alcohol Cleaning
This is the most underrated fix and works more often than people expect — particularly for drift that started relatively recently or that appears intermittent.
What you need:
- 90%+ isopropyl alcohol (90% minimum; higher concentration evaporates faster and leaves less residue)
- Cotton swabs, or a small squeeze bottle with a precision tip
- Optional: compressed air
The technique matters more than people acknowledge.
The goal is to get a small amount of isopropyl alcohol under the rubber stick cap and around the base of the potentiometer, without soaking the electronics or letting liquid run into the board.
- With the Joy-Con detached from the Switch, move the analog stick to one side to expose the base on the opposite side.
- Apply a small amount of IPA to a cotton swab — not dripping, just damp.
- Work the swab around the exposed gap at the base of the stick, rotating the stick in a full circle to access the entire perimeter.
- Move the stick rapidly in circles and figure-8 patterns for 30–60 seconds to work the alcohol into the mechanism.
- Let it air dry fully — 5 to 10 minutes minimum.
- Test for drift.
Why this works: The alcohol dissolves and flushes out the accumulated debris and oils that have built up around the wiper contact area. In cases where debris was causing false readings, this clears the obstruction.
Why this doesn't always work: If the carbon tracks are already worn through, cleaning them doesn't restore the material. You can have a perfectly clean potentiometer that still drifts because there's simply not enough carbon left on the track.
Real user experience from r/JoyCons: "Tried the alcohol thing three times, each time bought me maybe a week before it came back. That's how I knew I needed to replace the stick." This is a consistent pattern — IPA cleaning as a temporary fix that confirms hardware wear is the actual underlying problem.
Step 3: Adjusting the Deadzone (Per-Game Workaround)
Some games allow you to manually increase the stick deadzone in their own settings. This doesn't fix drift; it masks it. But for contexts where you can't or don't want to do a physical repair immediately, it's operationally useful.
The logic: Drift usually manifests as a very small, consistent false input — a few percentage points of deflection. If you increase the deadzone threshold, the game ignores small inputs below that threshold. Your actual intentional inputs still register normally above the threshold.
Not every game exposes deadzone controls. Some Nintendo first-party titles — The Legend of Zelda: Breath of the Wild and Tears of the Kingdom among them — have been particularly criticized for lacking individual stick deadzone settings, which is a sharp irony given that these games are exactly where Joy-Con drift is most disruptive.
Third-party games and emulators running on PC via Bluetooth tend to have better deadzone control. RetroArch, for instance, gives you fine-grained per-axis deadzone adjustment.
Step 4: Physical Replacement of the Analog Stick Module
This is the permanent fix for hardware-level drift. It's more involved than the previous steps, but it's genuinely accessible to anyone comfortable with small electronics.
What You Need
- Replacement Joy-Con analog stick module (Left or Right, depending on which Joy-Con is drifting — they're different parts; don't mix them up)
- Y00 tri-wing screwdriver (Nintendo uses proprietary screws)
- Phillips PH00 screwdriver
- Plastic spudger or opening tool
- Tweezers
- Isopropyl alcohol and swabs (for contact cleaning during reassembly)
The analog stick modules themselves are widely available from iFixit, Amazon, and AliExpress. Pricing varies from approximately $5–20 USD depending on source and quality. iFixit's guide notes the replacement process as "moderate" difficulty, which is honest — it's not beginner territory, but it's also not microsurgery.
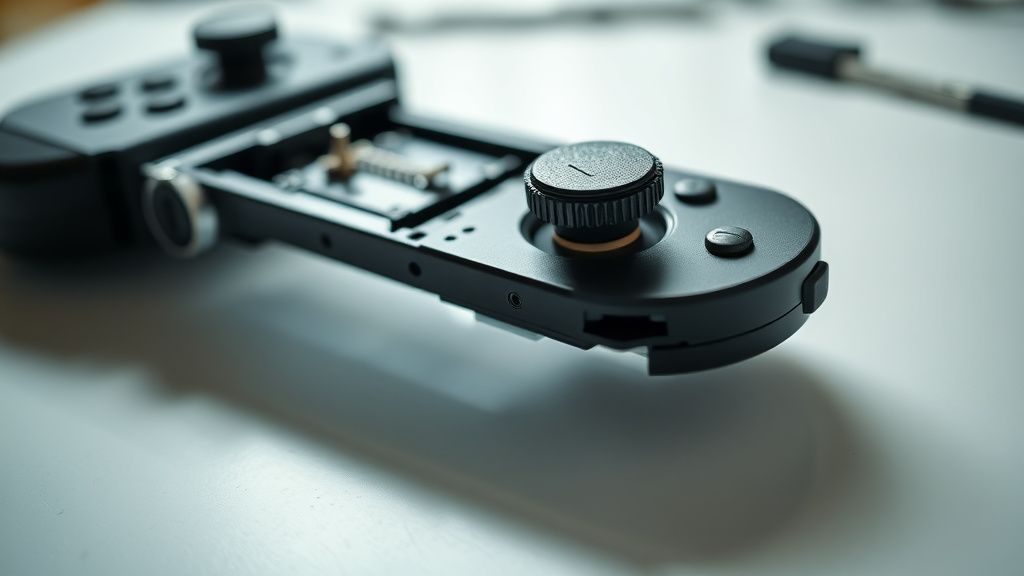
The Disassembly Process
Remove the four Y00 tri-wing screws from the back panel. This is where most people hit their first snag. The tri-wing screws are torqued tightly at the factory. If you're using a cheap tri-wing bit from a generic kit, you risk stripping the screw heads. A quality Y00 bit is worth the investment.
Separate the rear shell carefully. There are plastic clips along the edges. A plastic spudger helps here; metal tools will scratch and potentially crack the shell.
Locate the ZL/ZR ribbon cable (or L/R for the right Joy-Con) and detach it carefully. The flip-up connector locking mechanism on these ribbon cables is fragile and frequently damaged during repair attempts — this is probably the single most common self-inflicted injury in Joy-Con repair.
Disconnect the battery. Always disconnect the battery before touching the main board. The Joy-Con battery connector is a small Molex-style connector that pulls straight out.
Remove the analog stick module. It's held down by a small Phillips screw and a ZIF (zero insertion force) ribbon cable connector. Lift the ZIF lock, slide out the ribbon cable, remove the screw, and the module lifts out.
Install the replacement module in reverse order. When reinserting the ZIF ribbon cable, verify the cable is fully seated before locking the connector. Partially seated ribbon cables cause non-obvious failures — the Joy-Con may appear to work but with degraded input or random disconnections.
Reality Check from the Repair Community
The iFixit Joy-Con repair guide (which has accumulated thousands of community comments over several years) includes a recurring theme: people who complete the repair successfully but then immediately have the same drift return within weeks. This is almost always because the replacement part was low-quality — a generic module with the same thin carbon tracks as the original. The problem isn't the repair technique; it's that cheap replacement parts replicate Nintendo's original failure.
Higher-quality replacement modules — some sourced from other controller manufacturers or aftermarket suppliers that use thicker carbon tracks — appear to have better longevity, though there's no standardized data on this. It's an area where the repair community runs on anecdote and accumulated experience rather than rigorous testing.
The Broader Context: Nintendo's Responsibility and the Repair Ecosystem
Nintendo's Response (Or Lack Thereof)
Joy-Con drift became a documented public issue around 2019–2020. A class action lawsuit was filed in the United States alleging Nintendo knew about the defect. Nintendo quietly extended its Joy-Con repair policy to cover drift even out of warranty and at no charge — but this policy was never officially announced. It exists as a known open secret: if you call Nintendo support and mention drift, they will typically offer a free repair or replacement without asking for proof of purchase.
The problem is that this solution is geographically unequal. Nintendo's free repair service is available in North America and parts of Europe. In many other regions — parts of Southeast Asia, Latin America, Africa — users have no equivalent option. The global Switch user base doesn't have equivalent access to the same repair pathway.
Meanwhile, Nintendo's official position never acknowledged a design defect. The company issued statements describing drift as a result of "natural wear" from use, which is technically accurate but doesn't address whether the wear rate represents a reasonable product lifespan. A $70 controller accessory failing at 200–400 hours of use is a legitimate quality question that Nintendo has never meaningfully answered in public.
The Right to Repair Dimension
Joy-Con drift became one of the prominent examples cited in Right to Repair advocacy during 2020–2022. The combination of proprietary screws, non-standardized parts, and the fact that Nintendo's own repair process was opaque and geographically inconsistent made it a useful case study. iFixit partnered with activists specifically using Joy-Con drift as a talking point.
The tri-wing screw is symbolic here. It's a small, deliberate design choice that serves no functional purpose other than to make the device harder to open without a specific tool. It doesn't make the Joy-Con stronger, lighter, or more durable. It just raises the barrier to self-repair.

Counter-Criticism: Is DIY Repair Worth It?
There's a legitimate pushback against the DIY repair narrative that deserves honest representation.
The skill gap is real. The ZIF ribbon cable connectors are genuinely fragile. A meaningful percentage of first-time repairers damage the connector or the cable during their first attempt. If you've never done PCB-level work before, your failure rate is non-trivial. Nintendo's online repair service, while not free in all regions, does offer a predictable outcome.
Replacement part quality is inconsistent. As noted above, generic parts can reproduce the original failure. The repair community has done collective qualitative evaluation — some sellers are consistently praised, others consistently produce parts that drift again within months — but there's no clean, structured way to identify good parts from bad before buying.
There is a physical learning curve to the disassembly that the guides understate. The iFixit guide is excellent, but it's written for people who do this regularly. A first-time user will find the experience slower, more anxious, and more physically difficult than the guide implies.
None of this means you shouldn't attempt the repair. It means you should go in with accurate expectations.
Field Reports: Real-World Repair Outcomes
Across GitHub discussions for open-source Switch modding tools, r/JoyCons, and iFixit's community comments, the pattern that emerges from thousands of individual repair accounts is roughly:
IPA cleaning alone: Reported as solving drift permanently in perhaps 15–20% of cases, temporarily in another 30–40%, and having no effect in the remainder. These numbers are informal community estimates, not studied data.
Calibration only: Consistently effective for software-origin drift (which is less common than hardware wear but not rare). Frequently cited as solving drift that appeared suddenly after a firmware update.
Full module replacement with quality parts: Most consistently effective long-term solution. The main failure mode is installer error (damaged ribbon cable) or low-quality replacement parts.
From a Hacker News thread on Joy-Con durability (circa 2021): "Replaced both stick modules on my original launch Joy-Cons. Two years in, zero drift. The repair took me 45 minutes the first time and 15 minutes the second. The tri-wing screwdriver was the hardest part to source locally."
From r/NintendoSwitch: "Sent mine to Nintendo three times under the free repair program. Third time they just sent me new ones. The problem is the design hasn't changed, just the parts batch. Will probably drift again."
That second account captures something important: Nintendo's repair program replaces parts, not design. The replacement Joy-Cons are made with the same fundamental analog mechanism. They will, probabilistically, drift again.
Preventive Practices That Actually Help
Prevention here is honest, not hand-wavy.
Stick caps: Aftermarket stick caps that increase the height and grip of the analog stick reduce the angular force required for the same effective input. Lower force means less
Bu makale affiliate linkleri içermektedir.